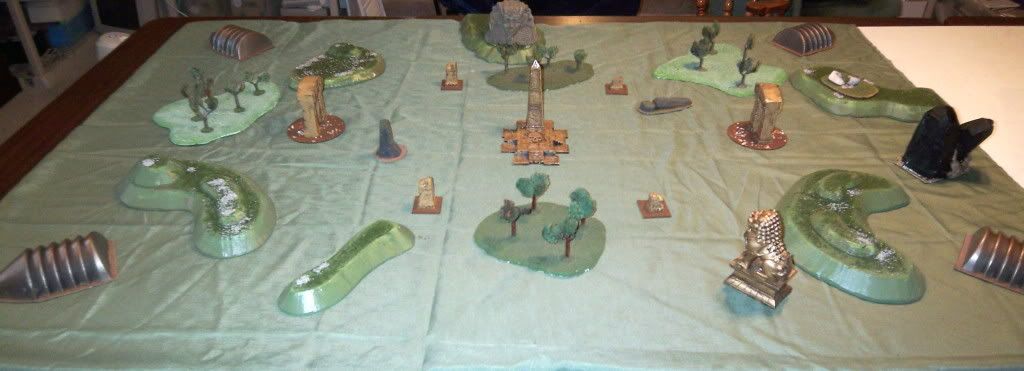
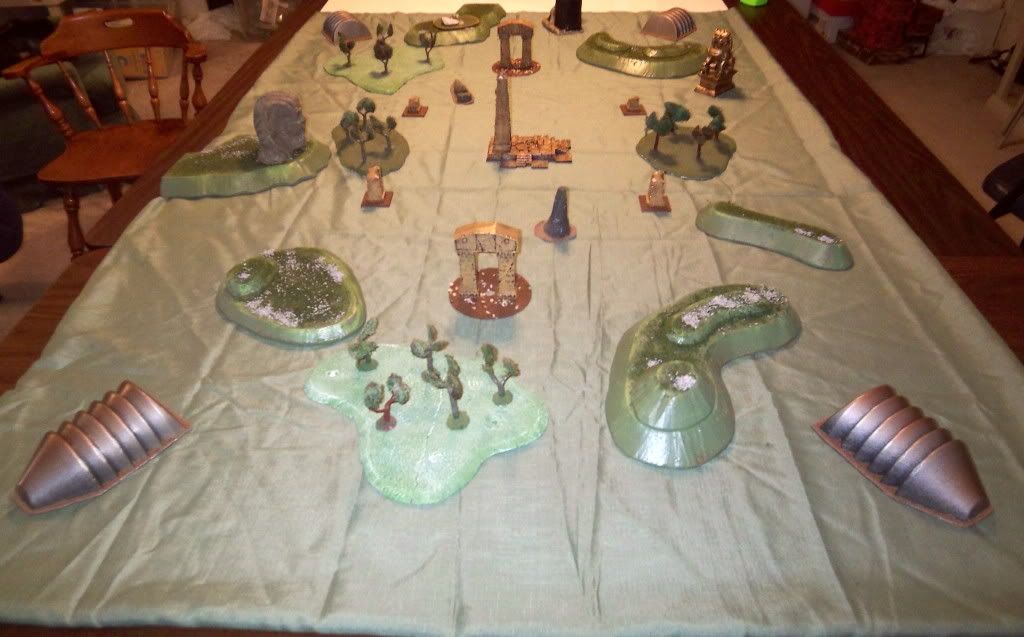
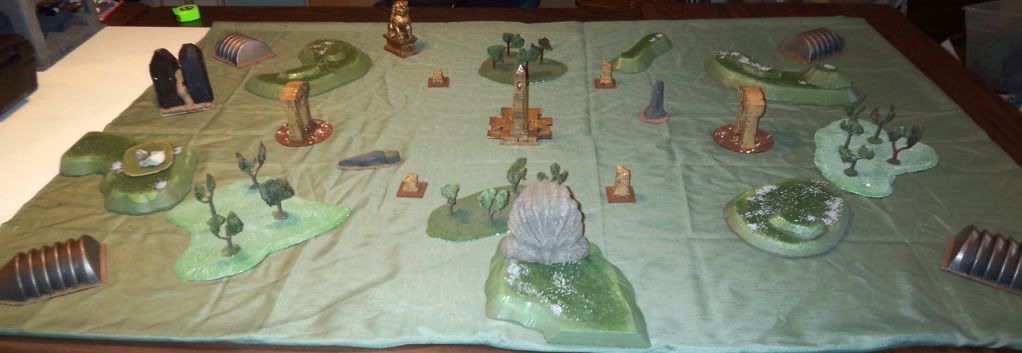
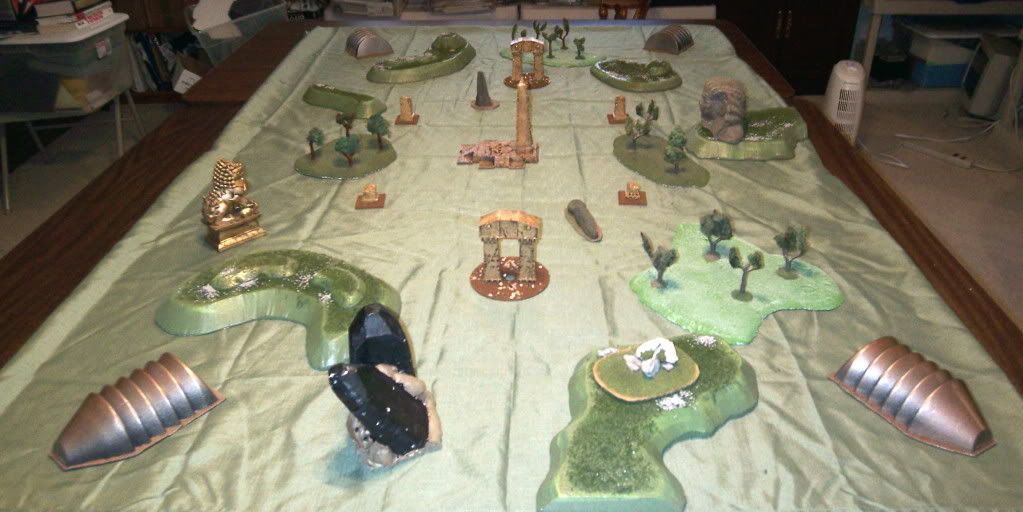
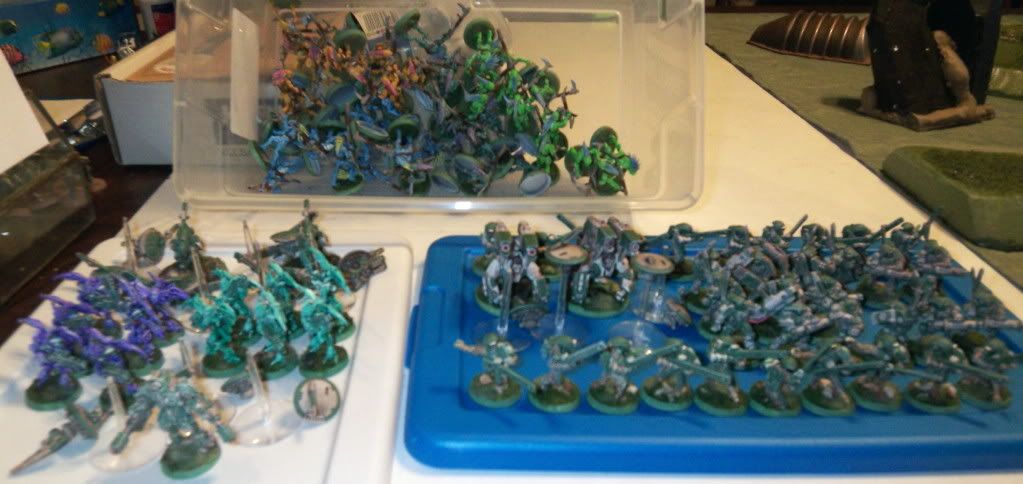
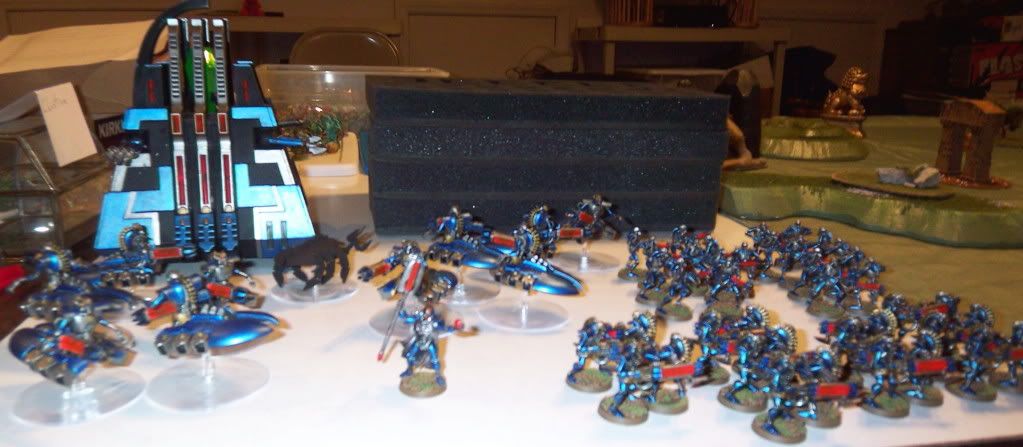
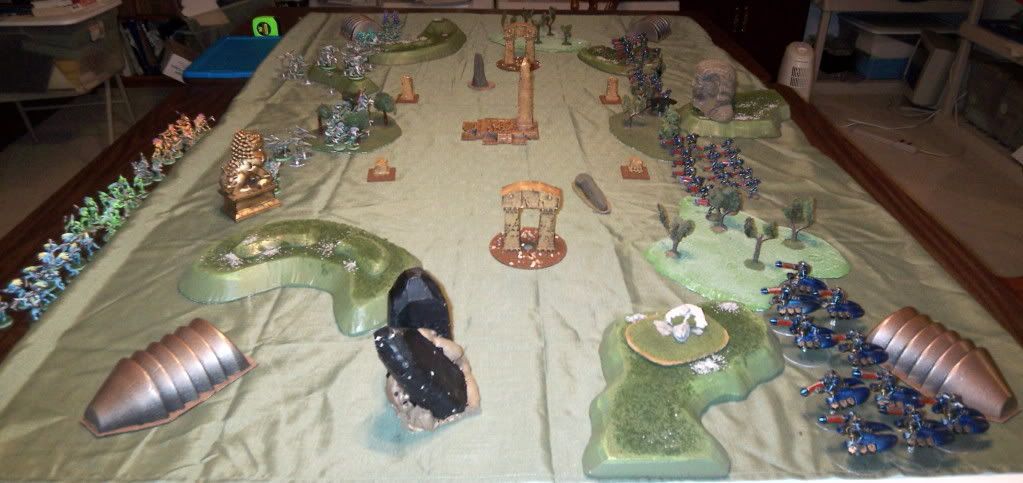
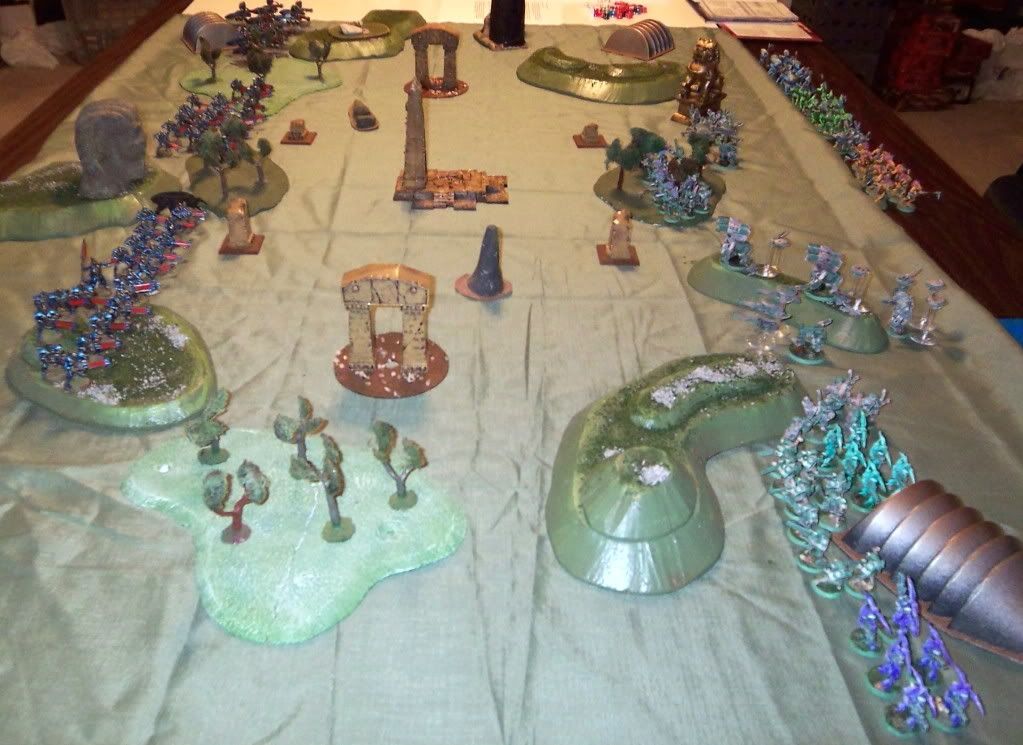
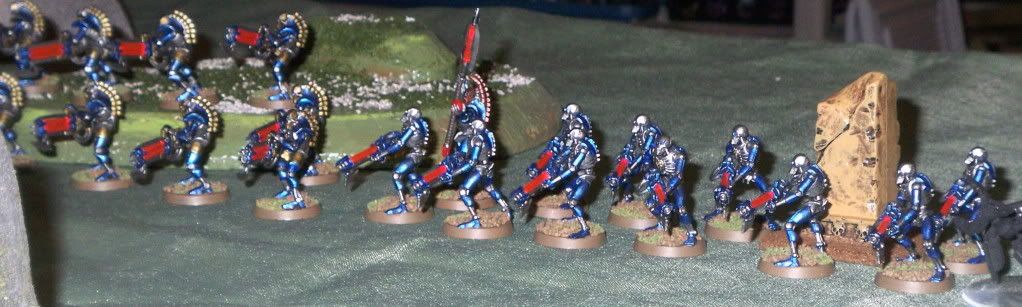
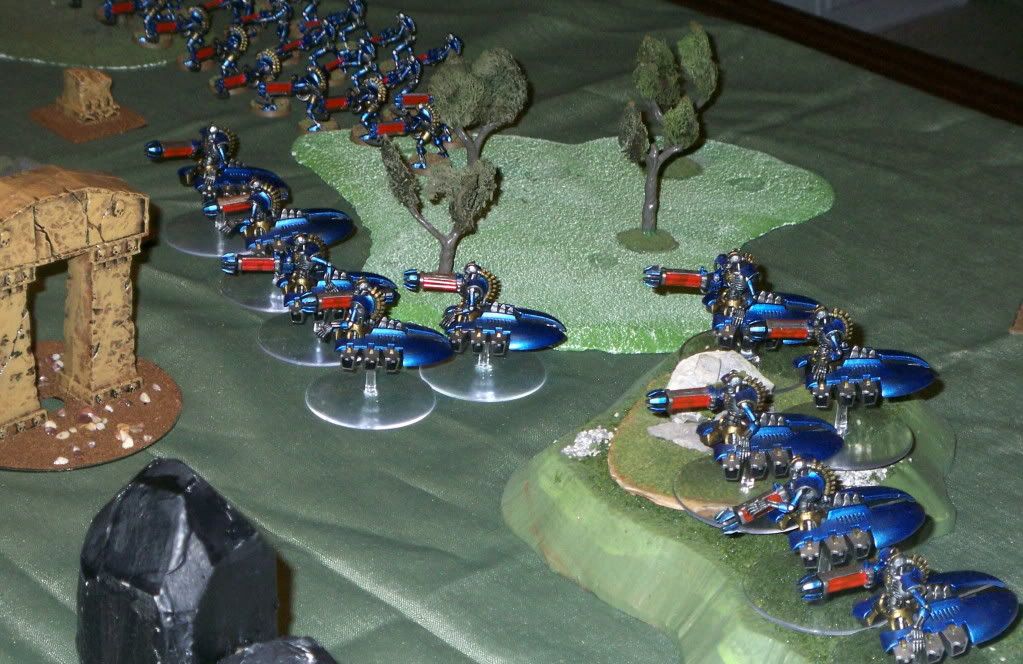
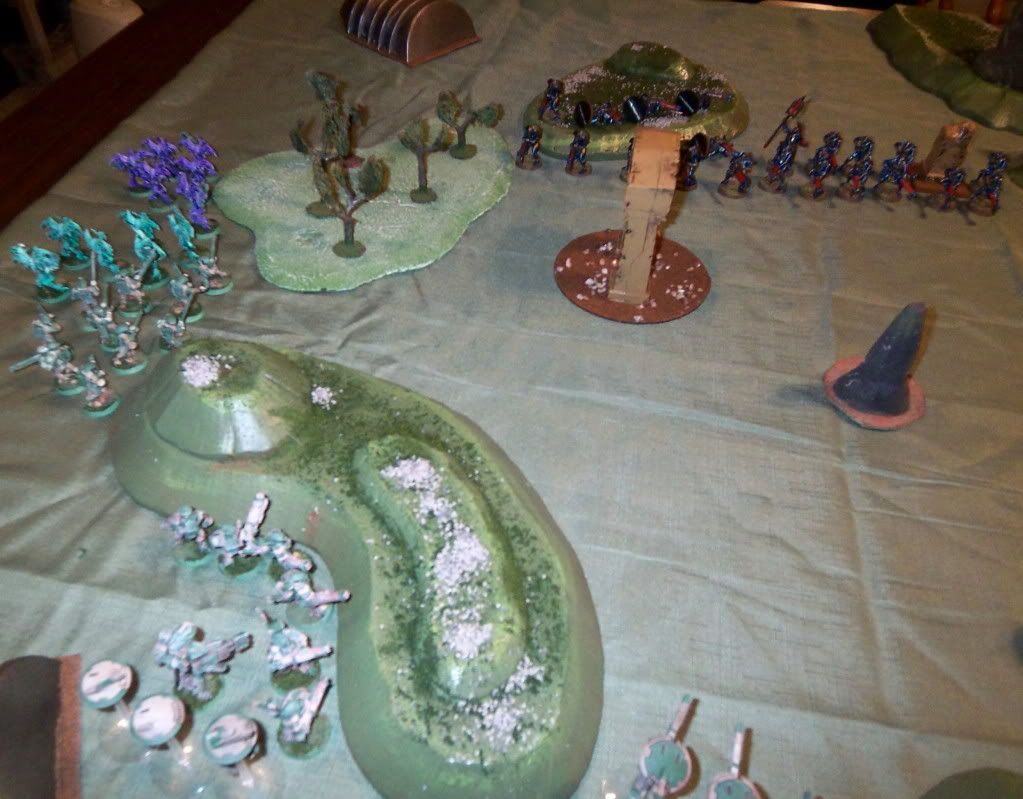
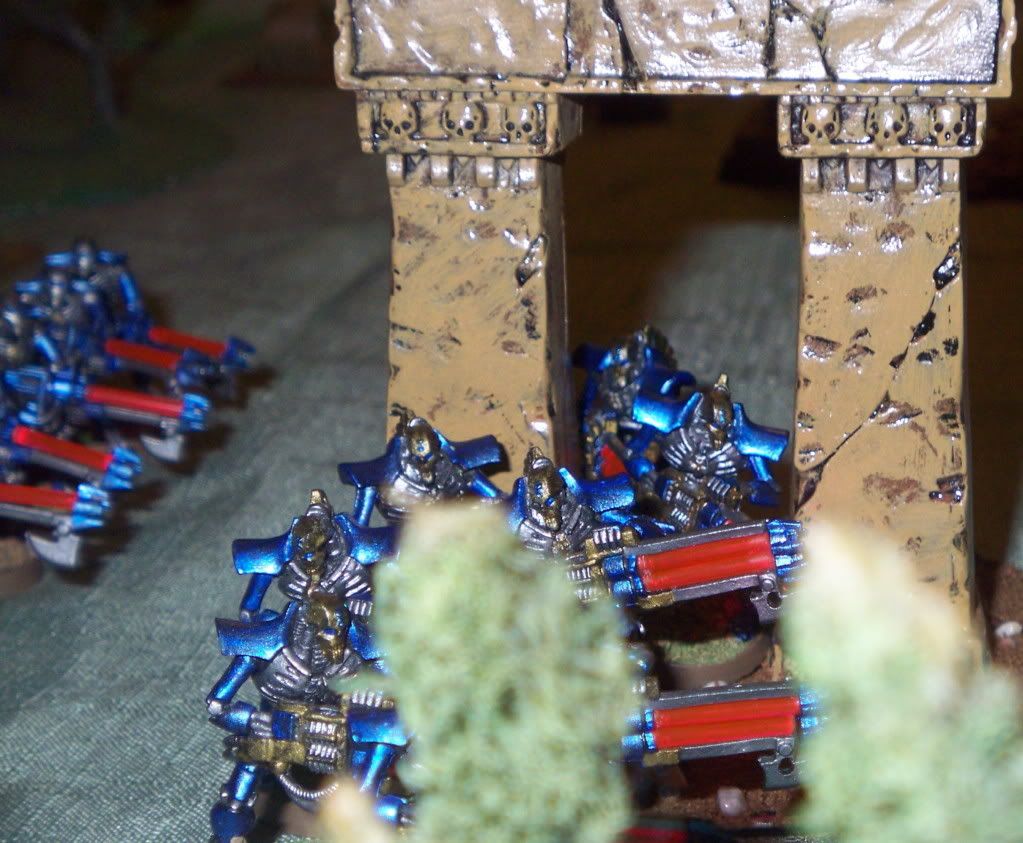
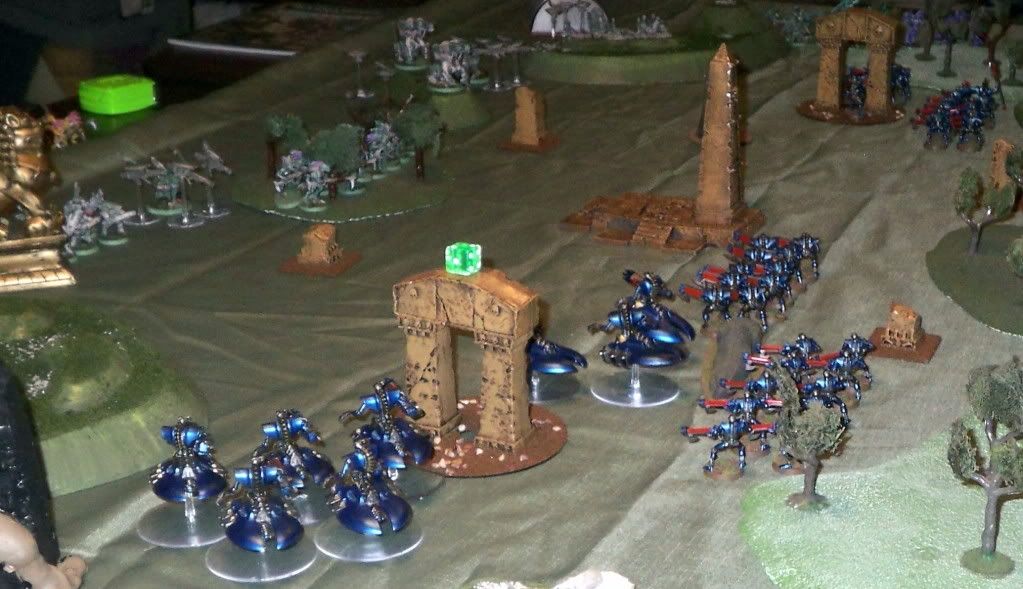
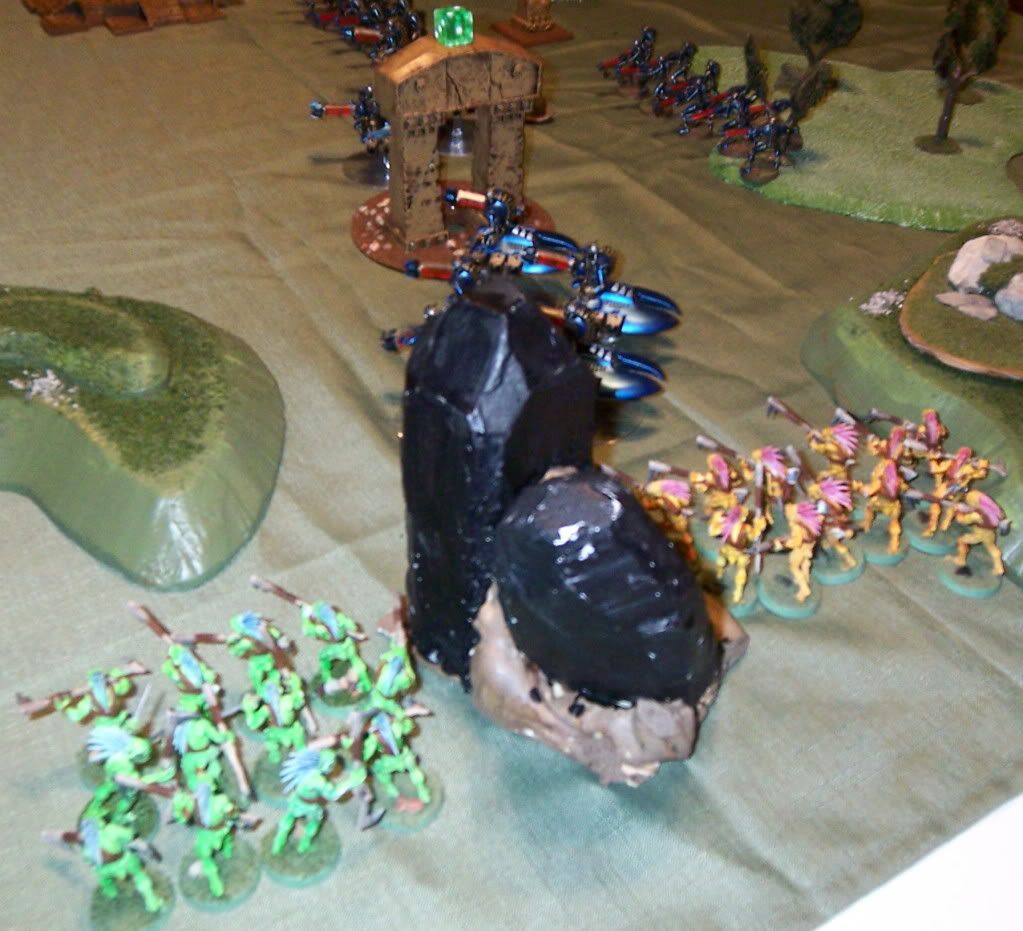
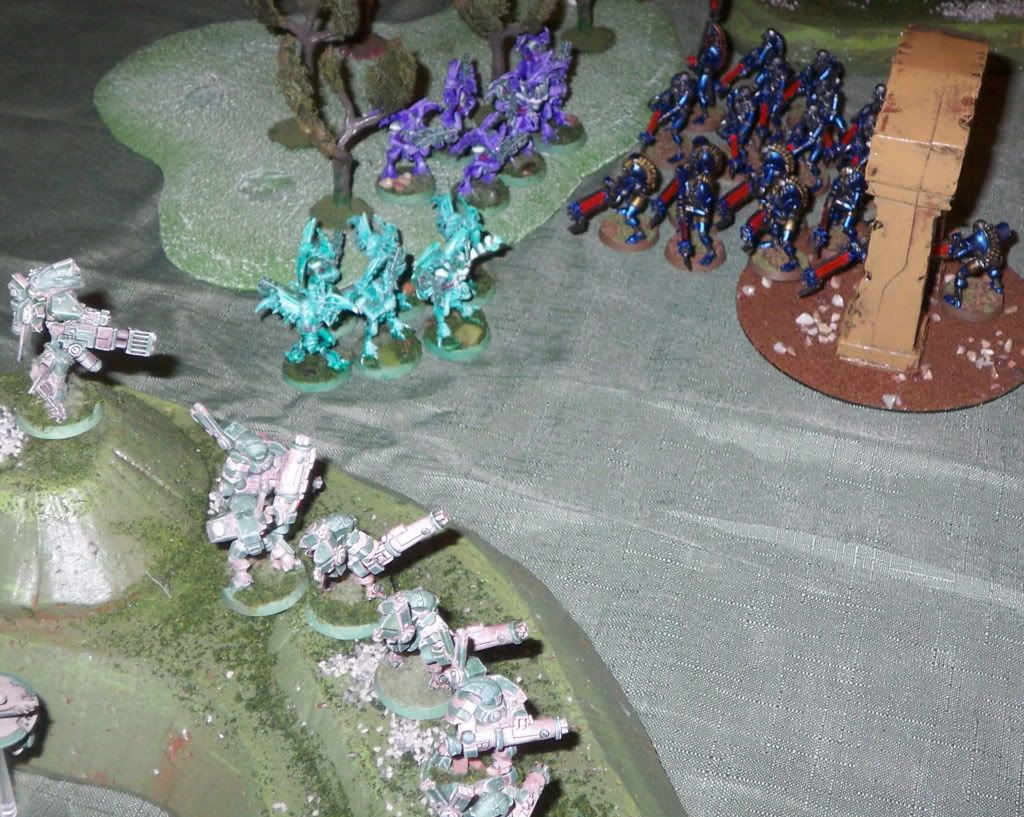
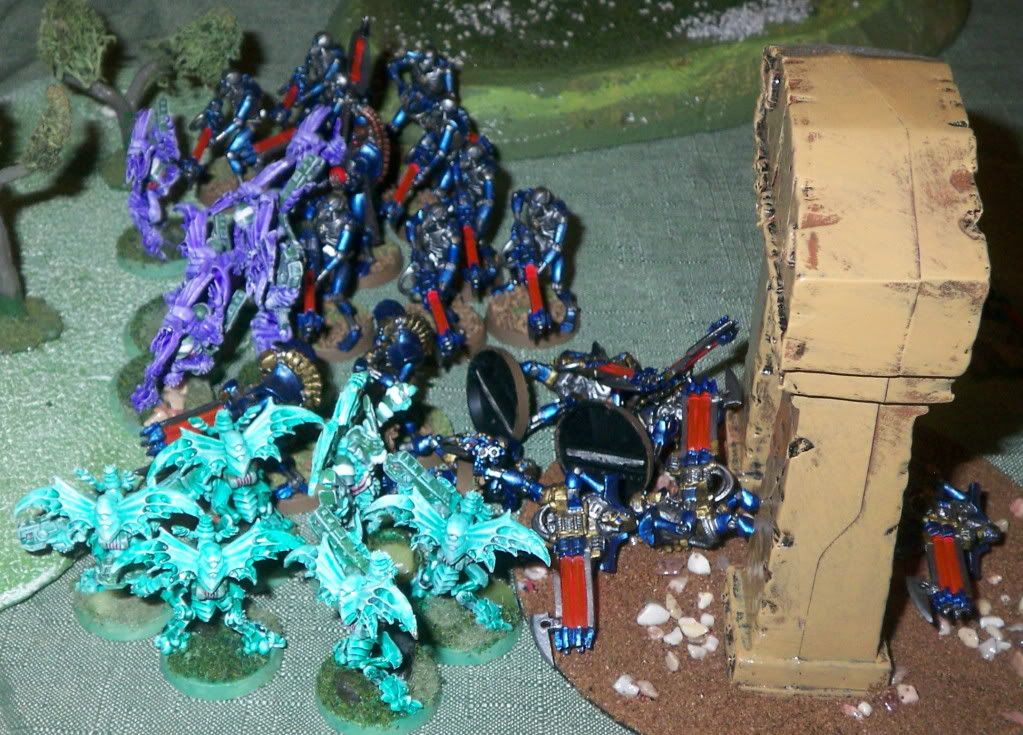
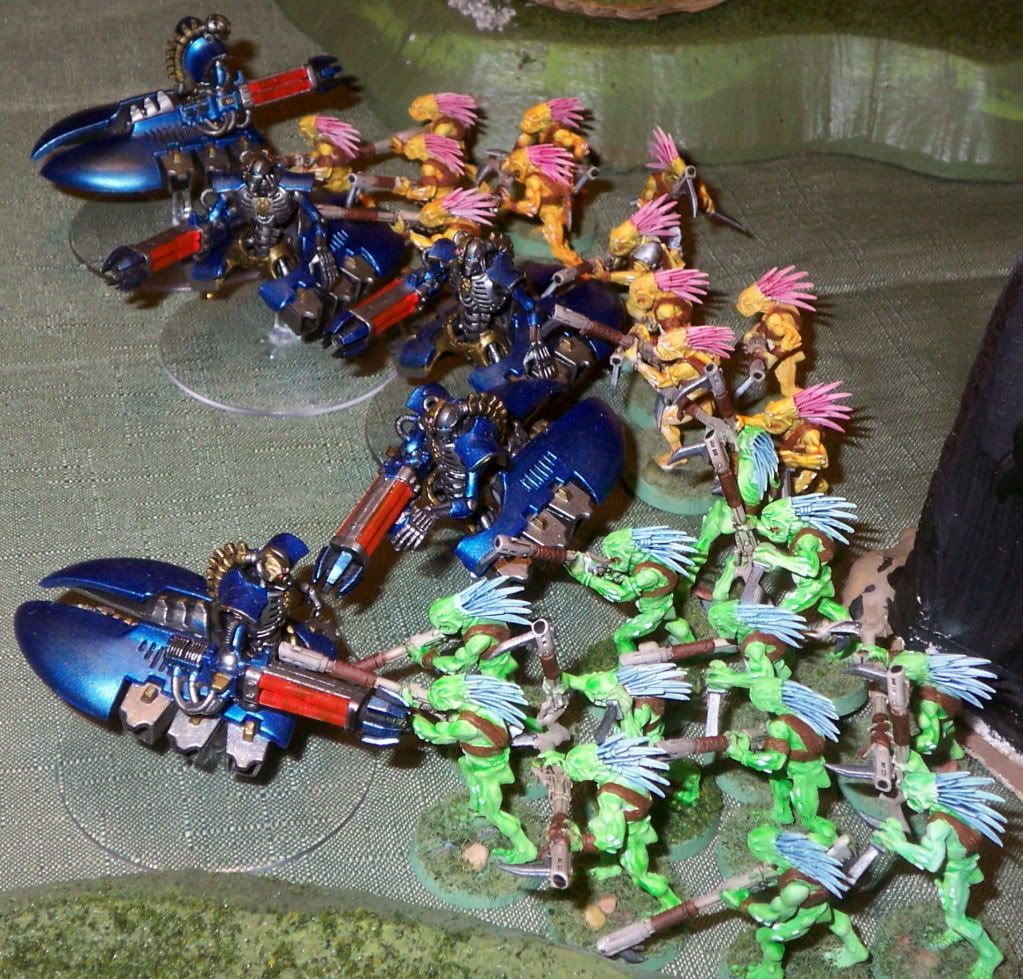
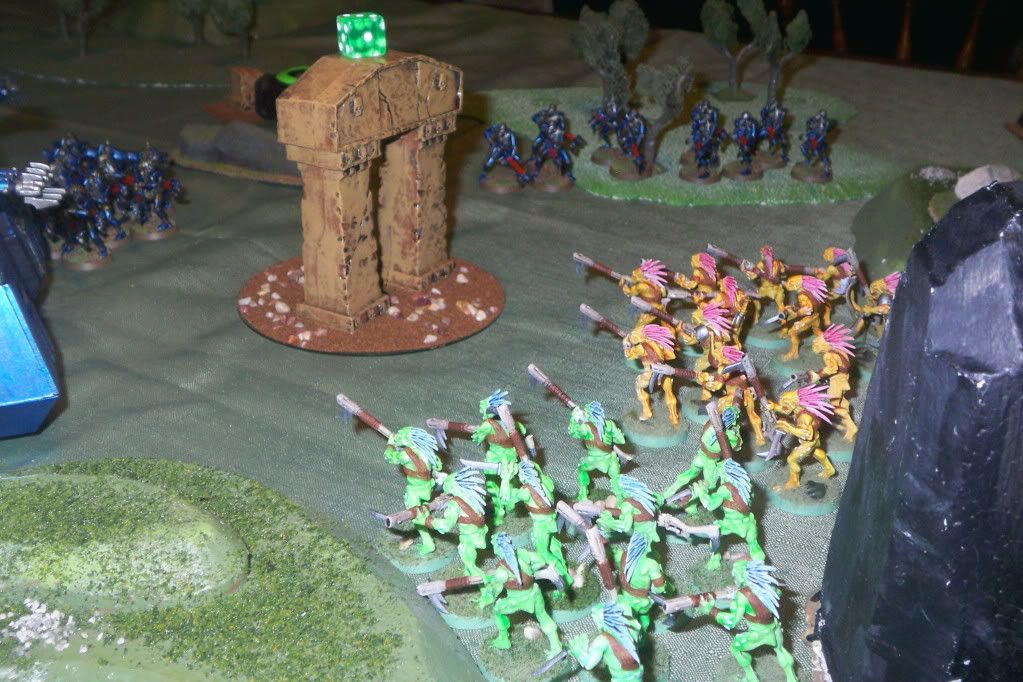
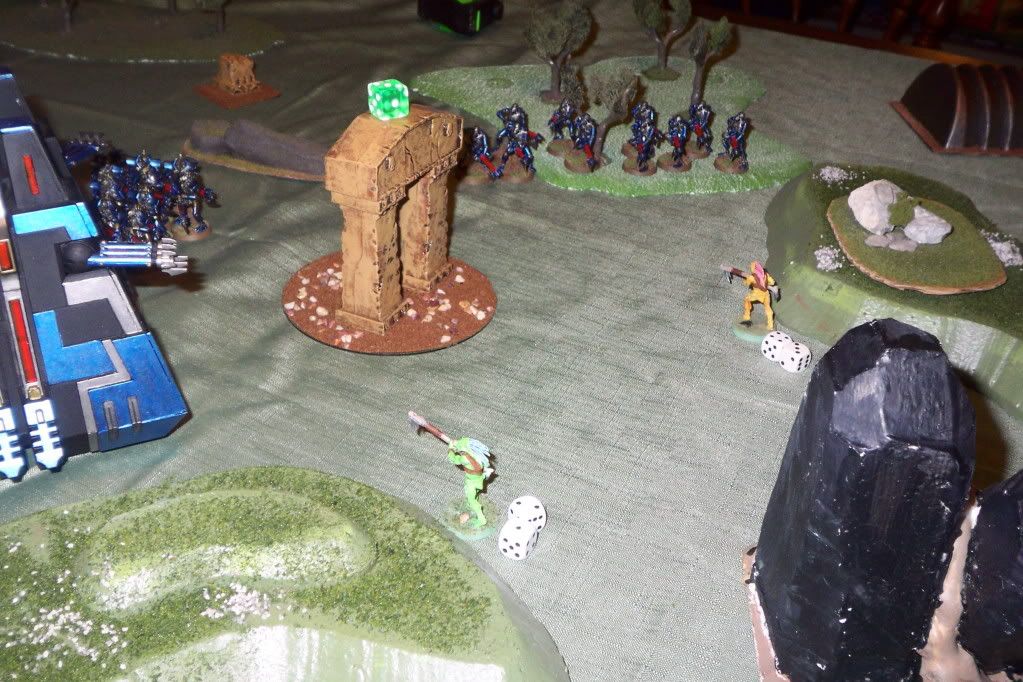
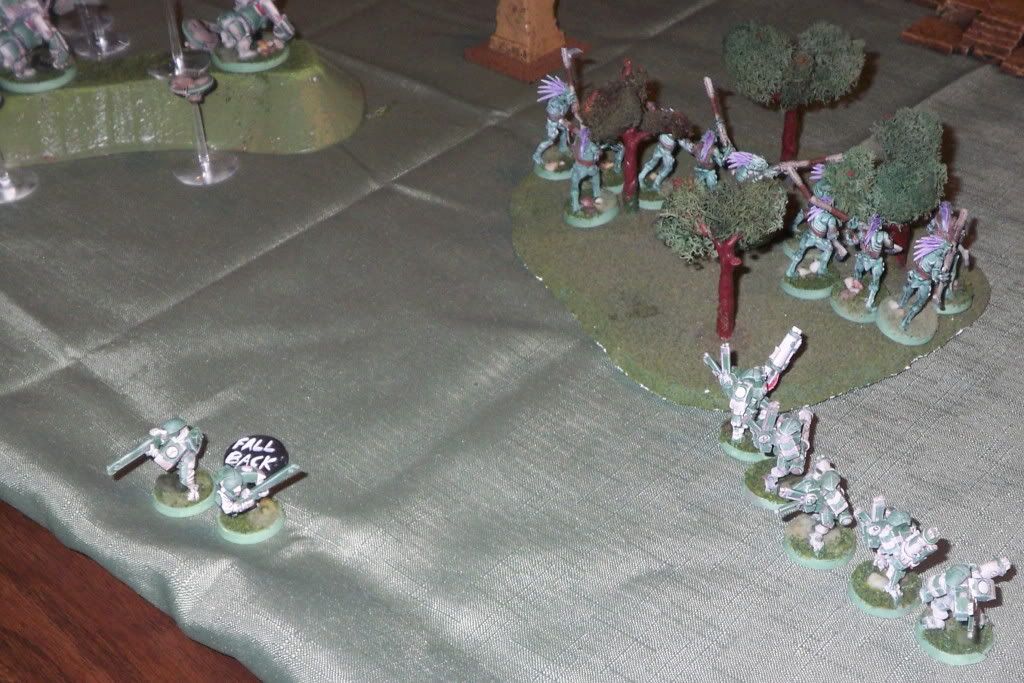
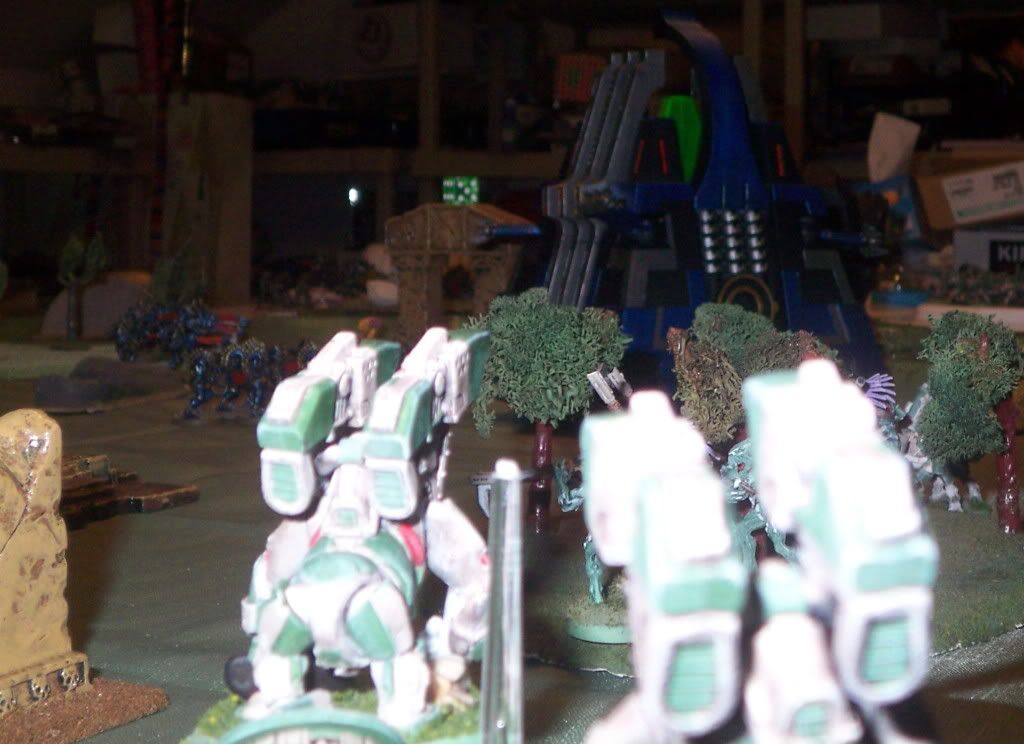
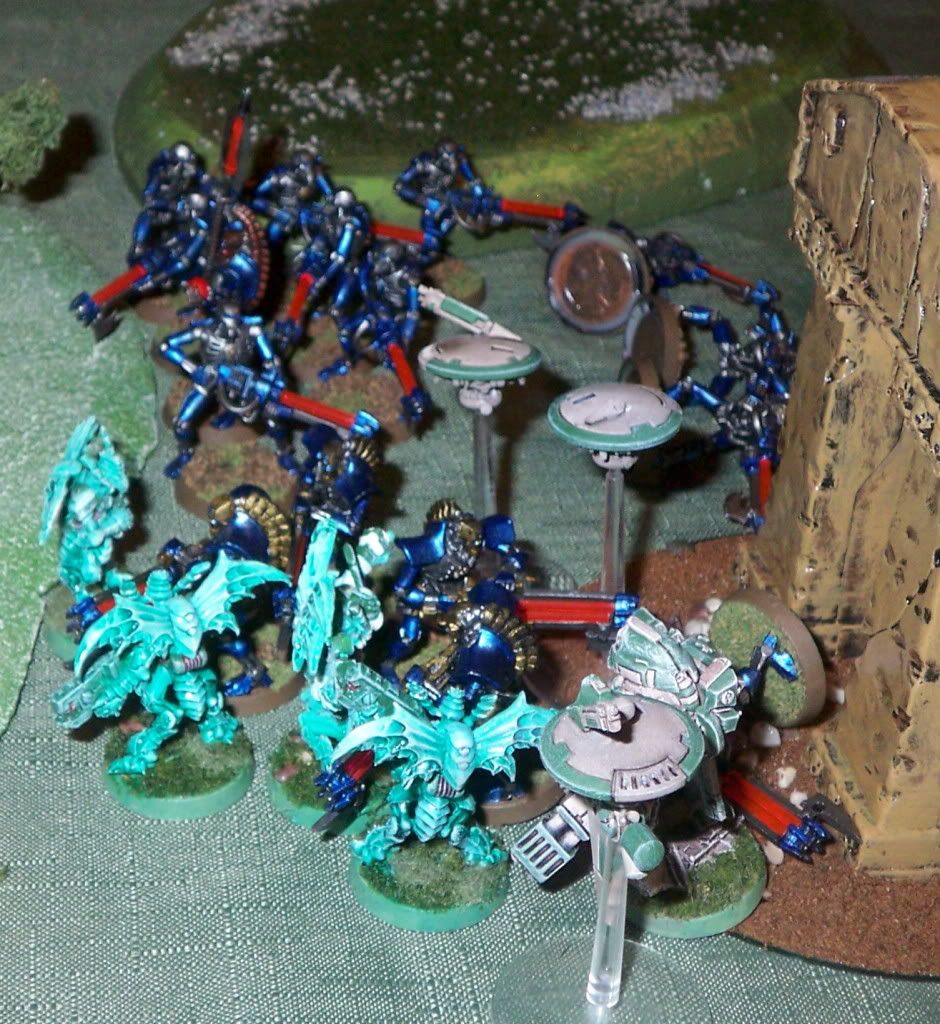
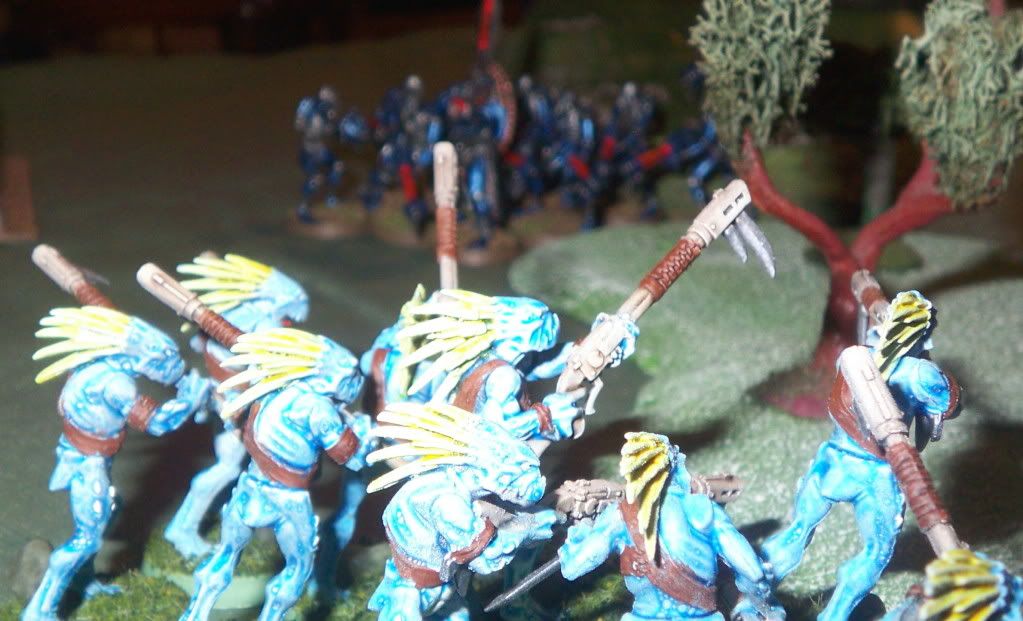
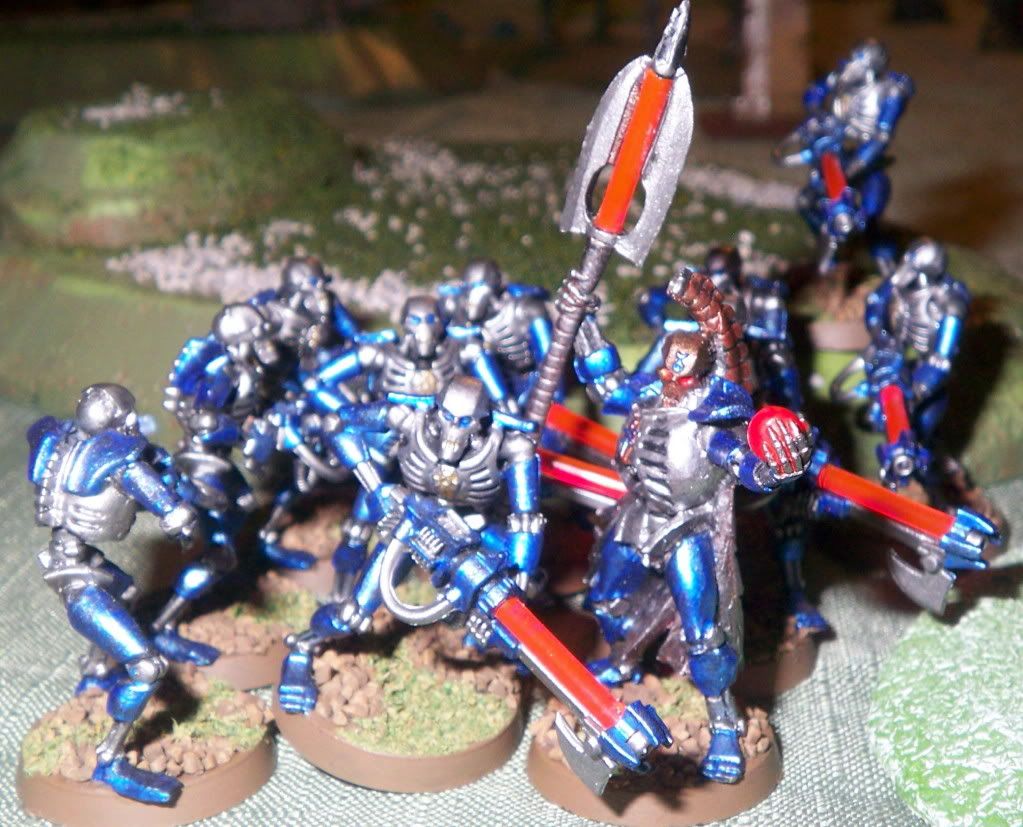
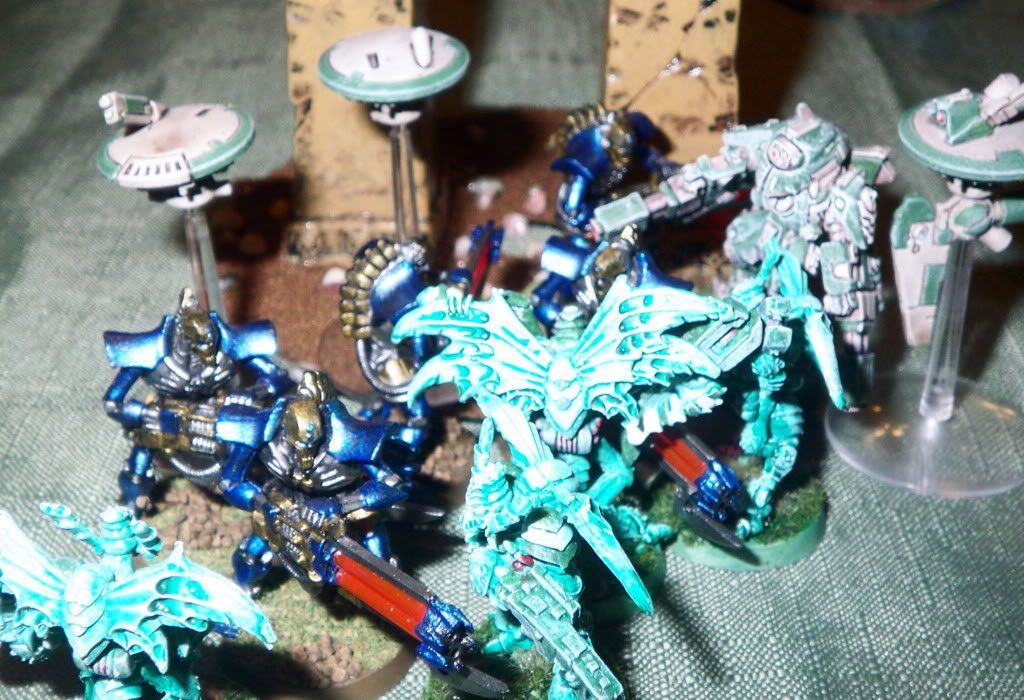
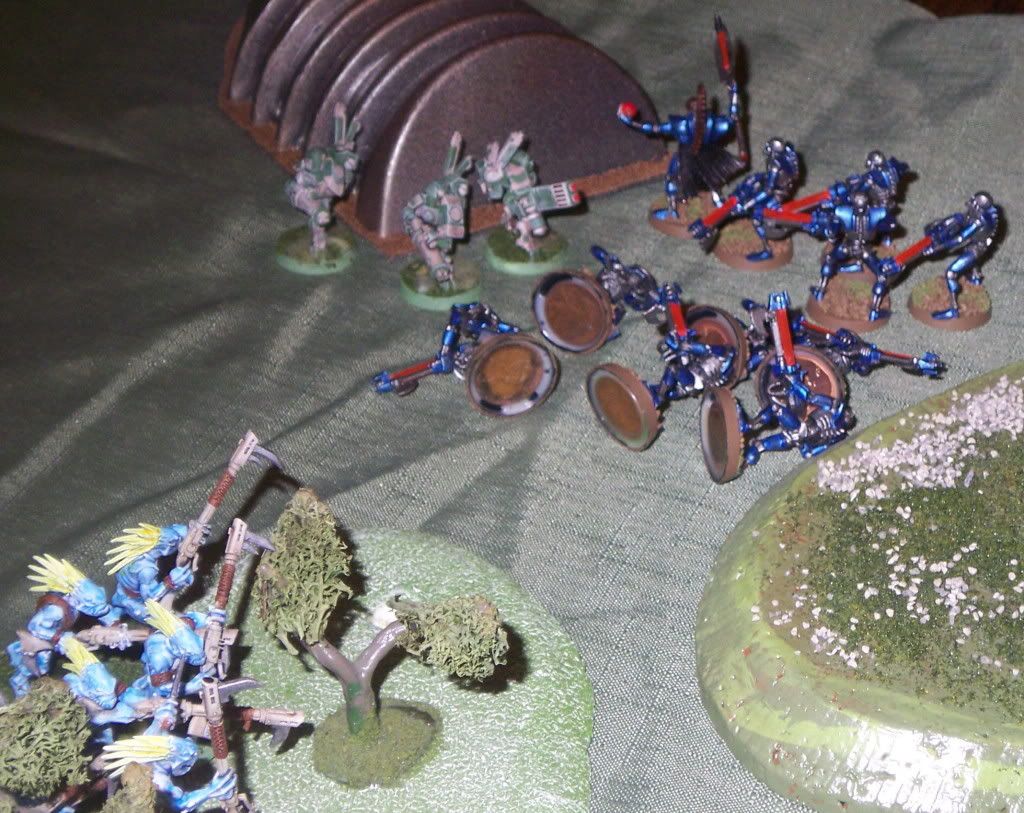
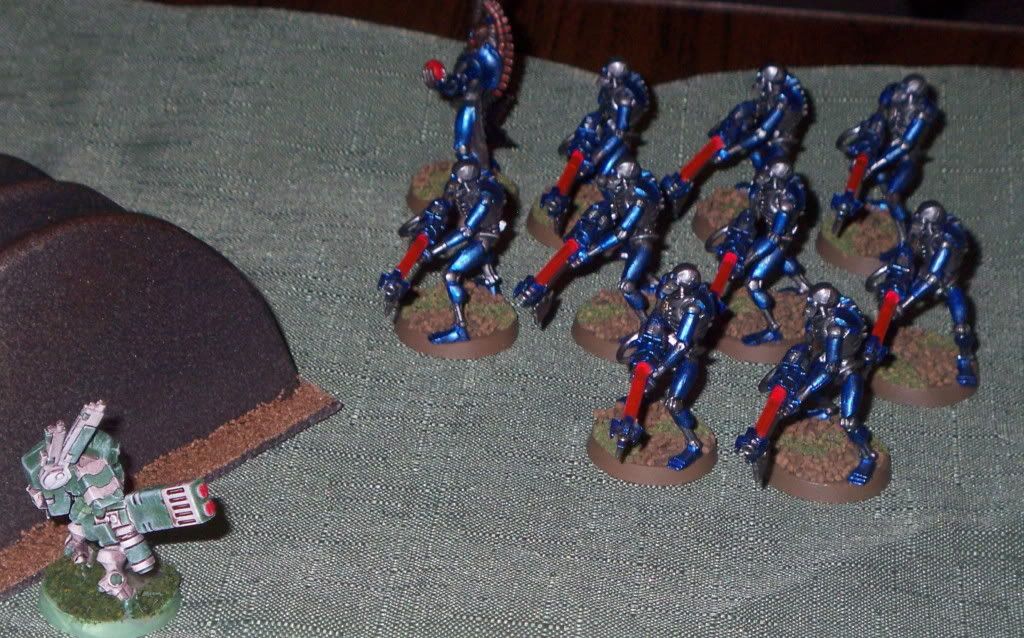
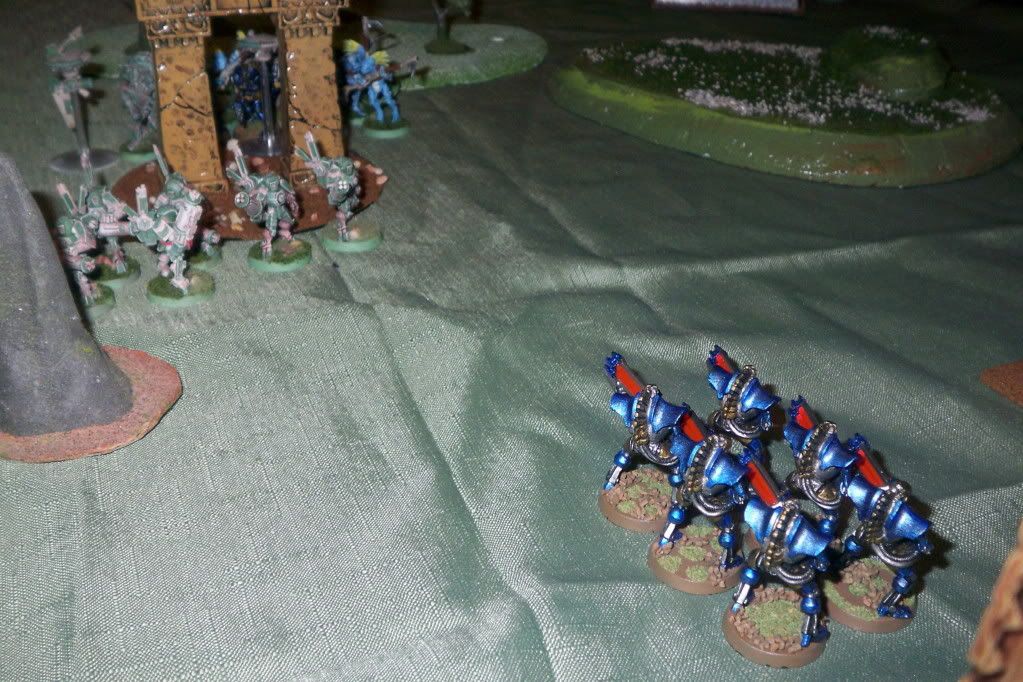
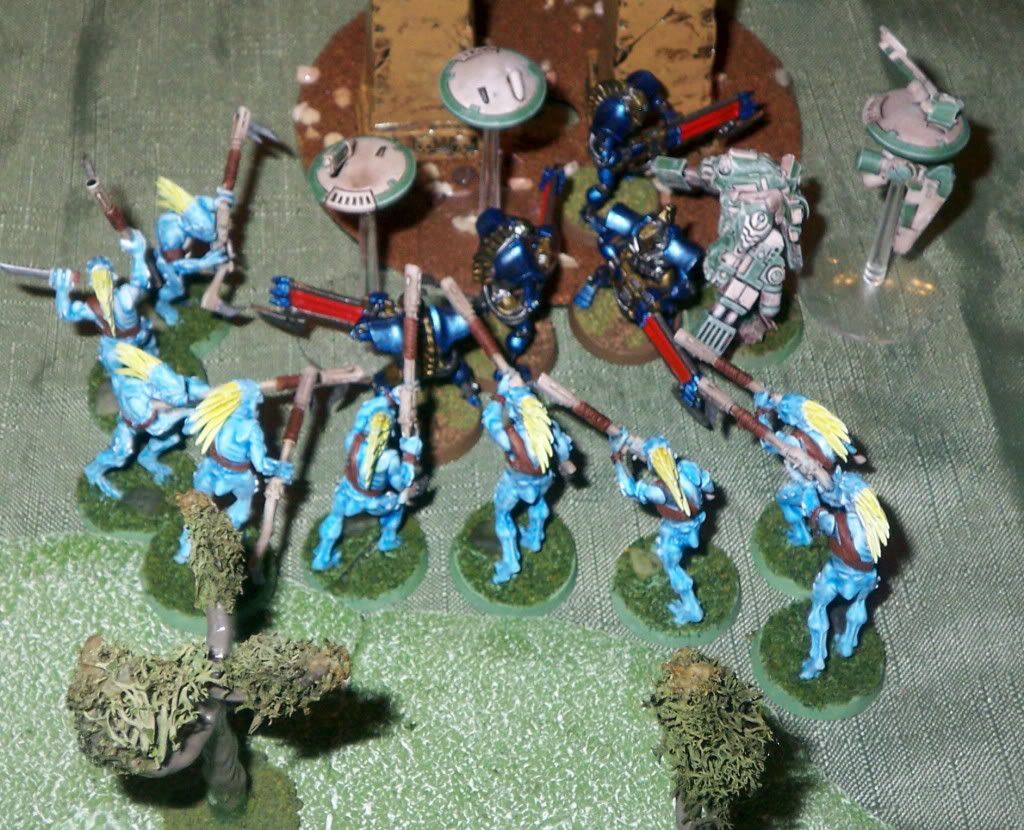
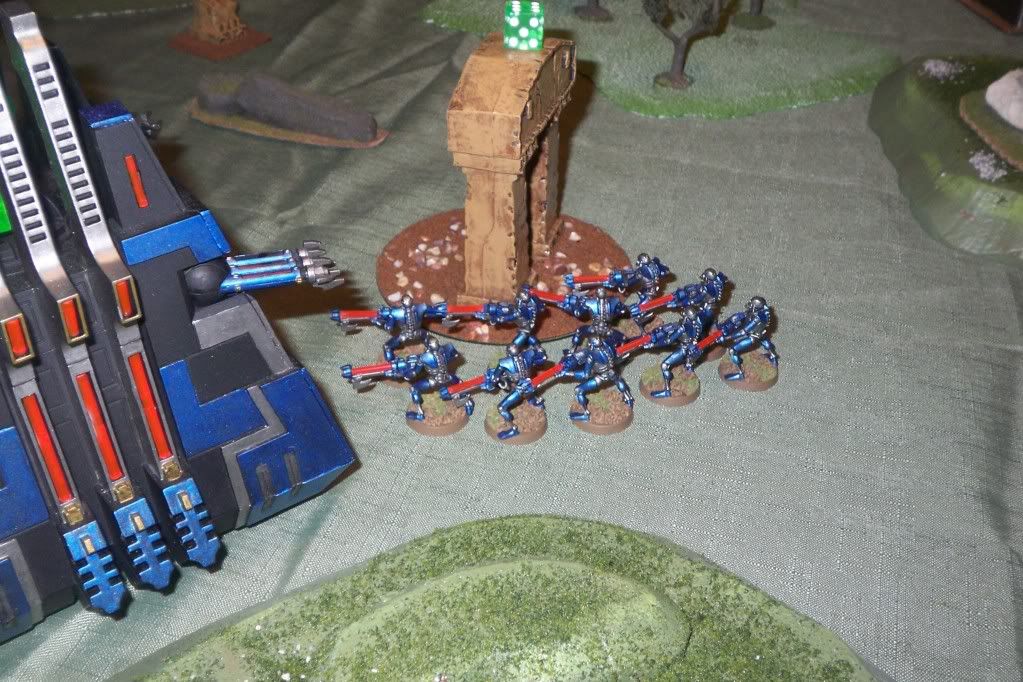
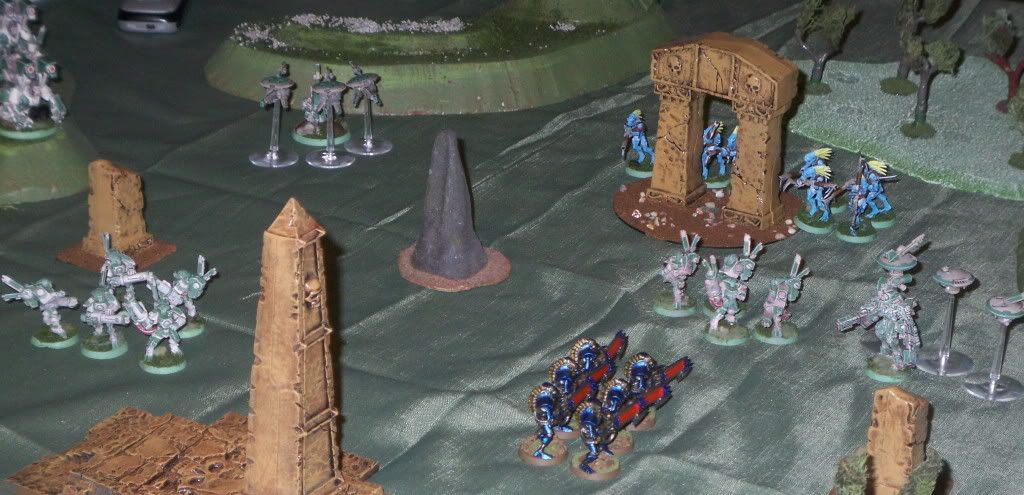
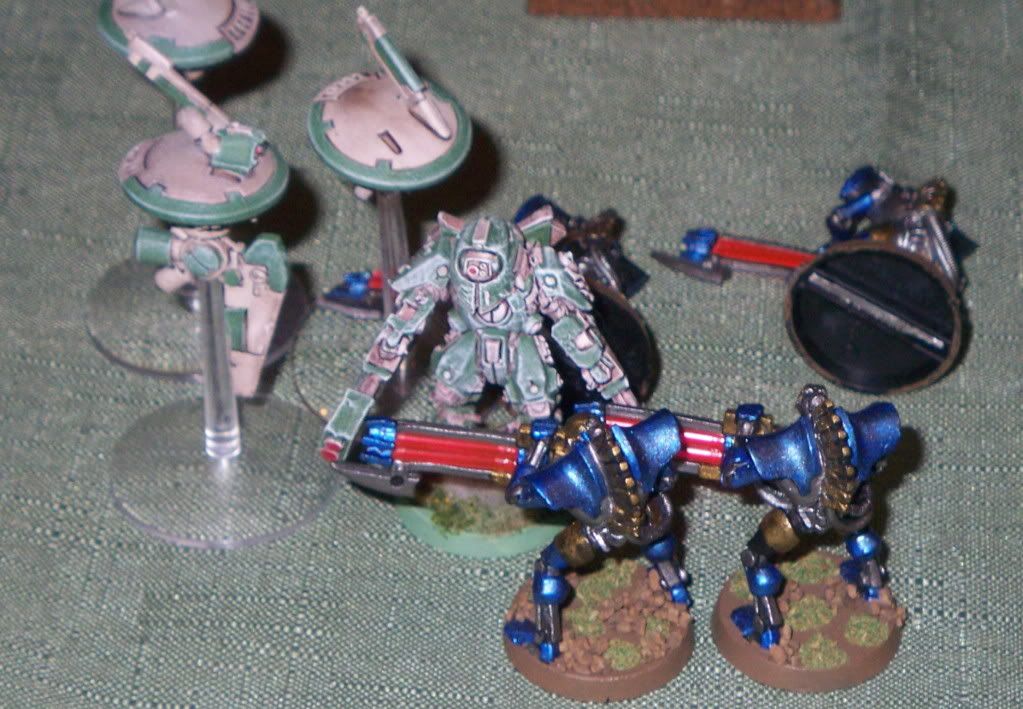
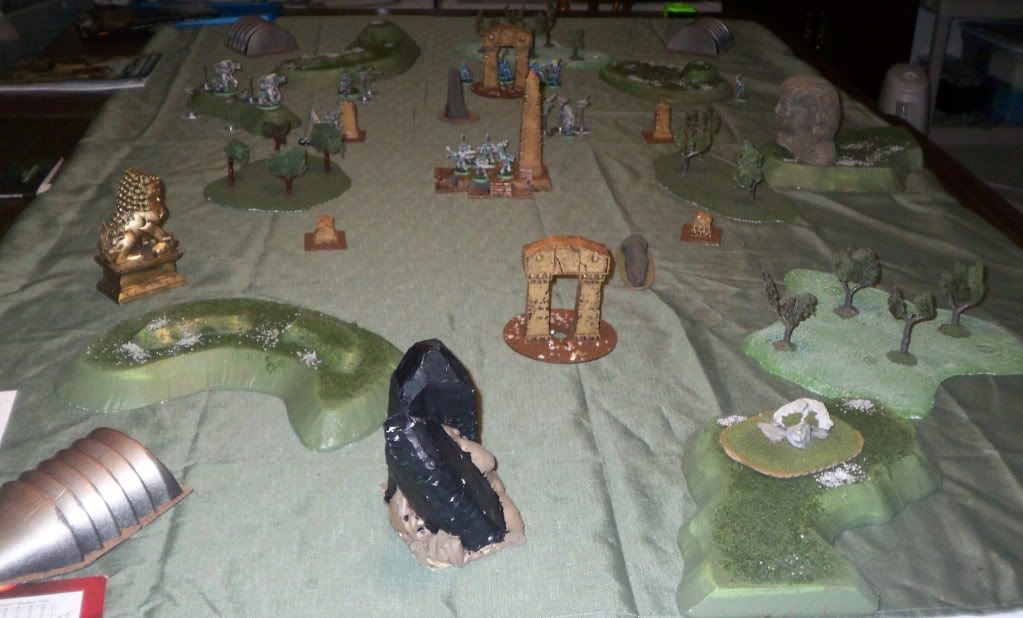
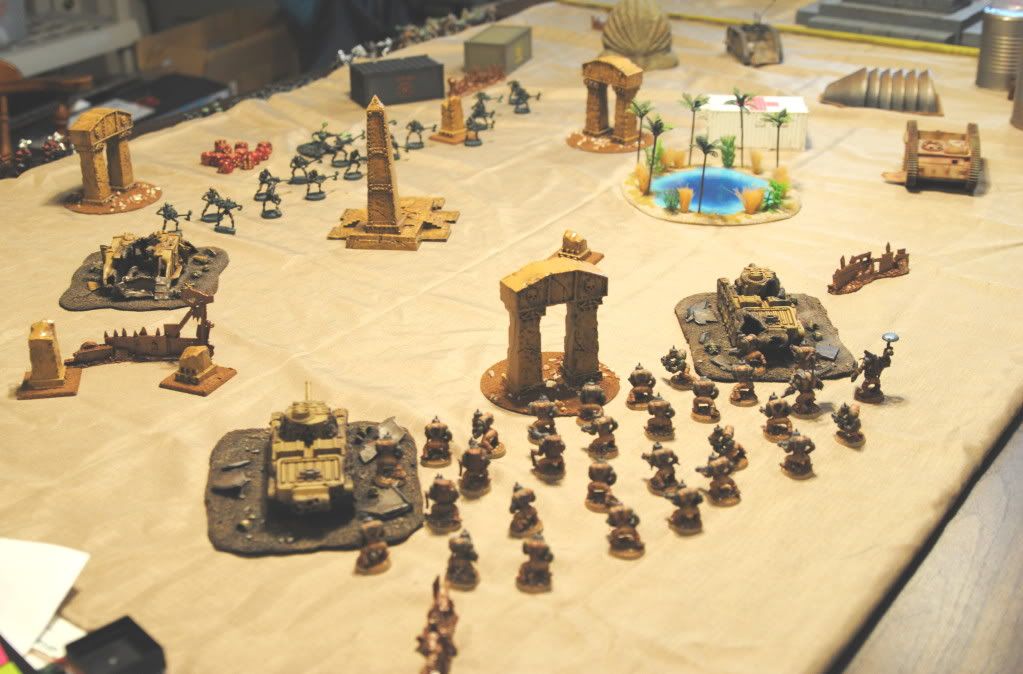
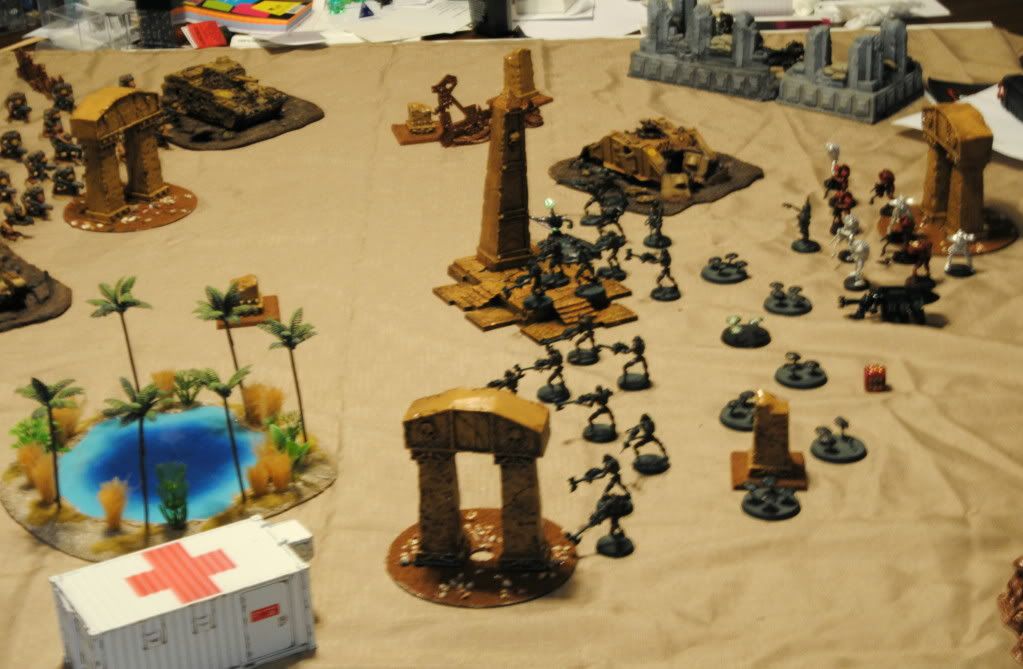
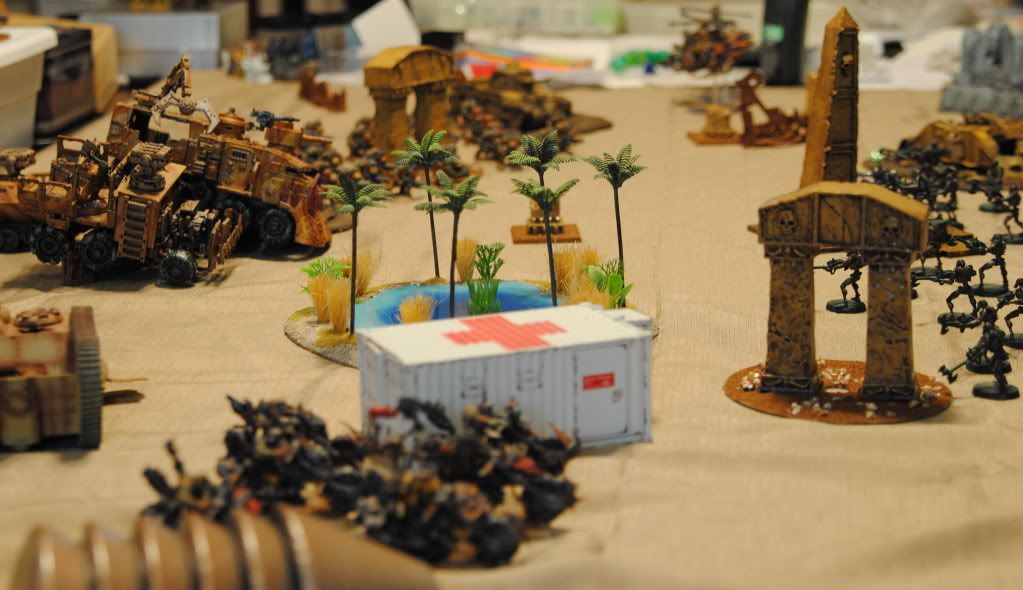
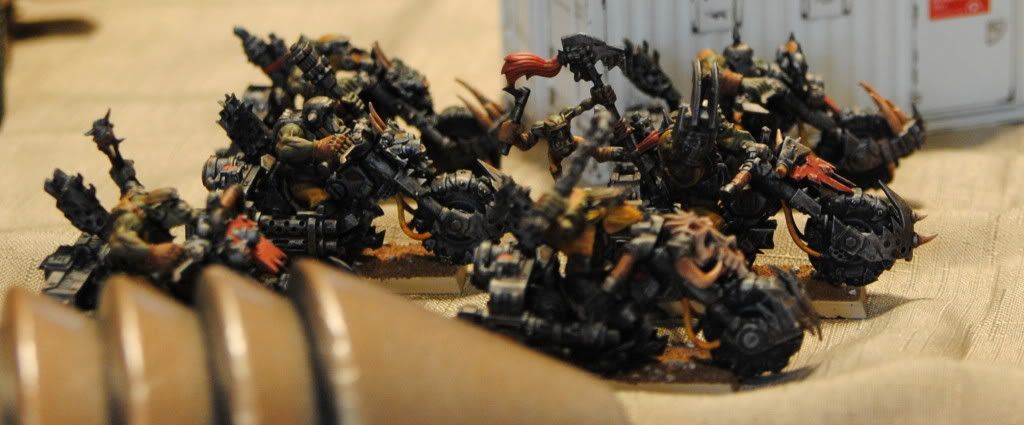
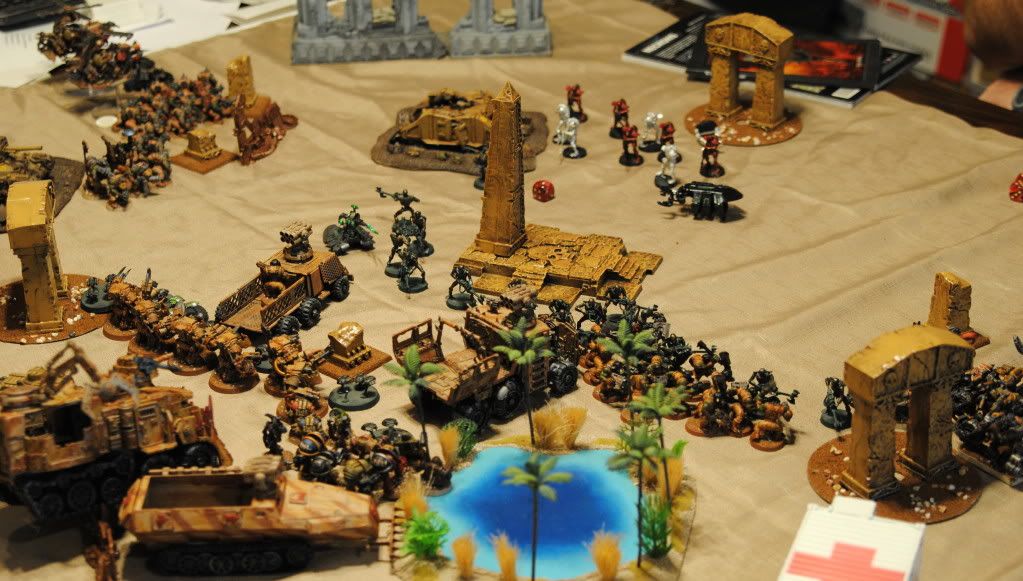
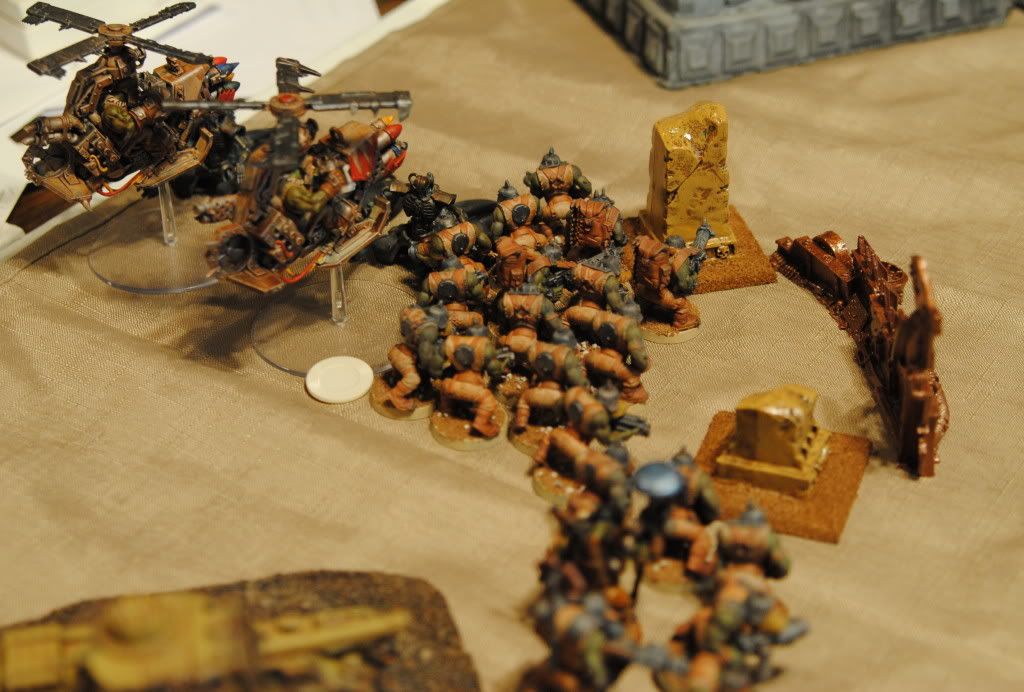
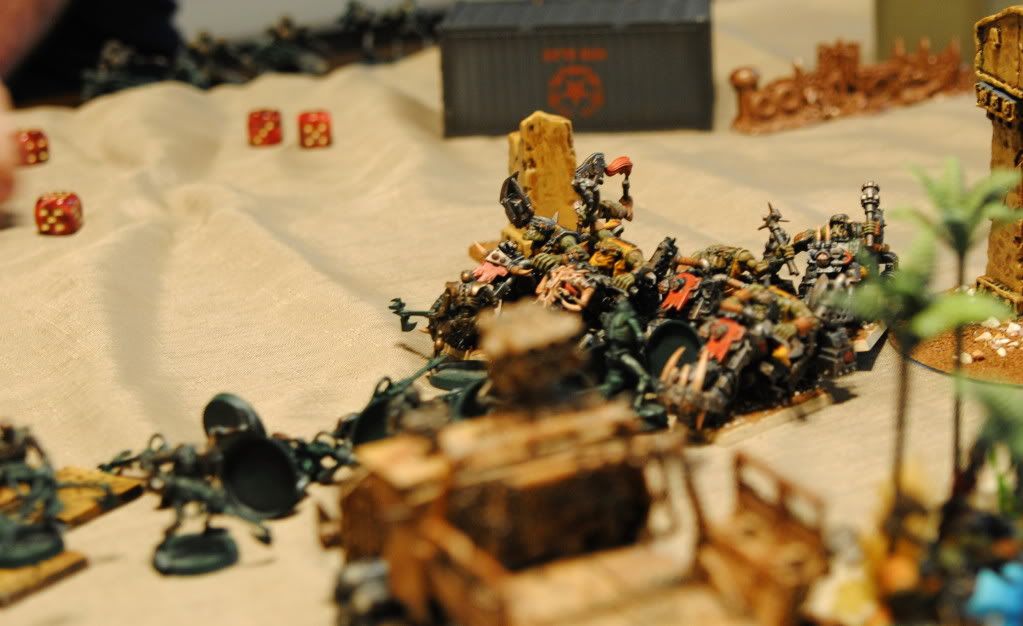
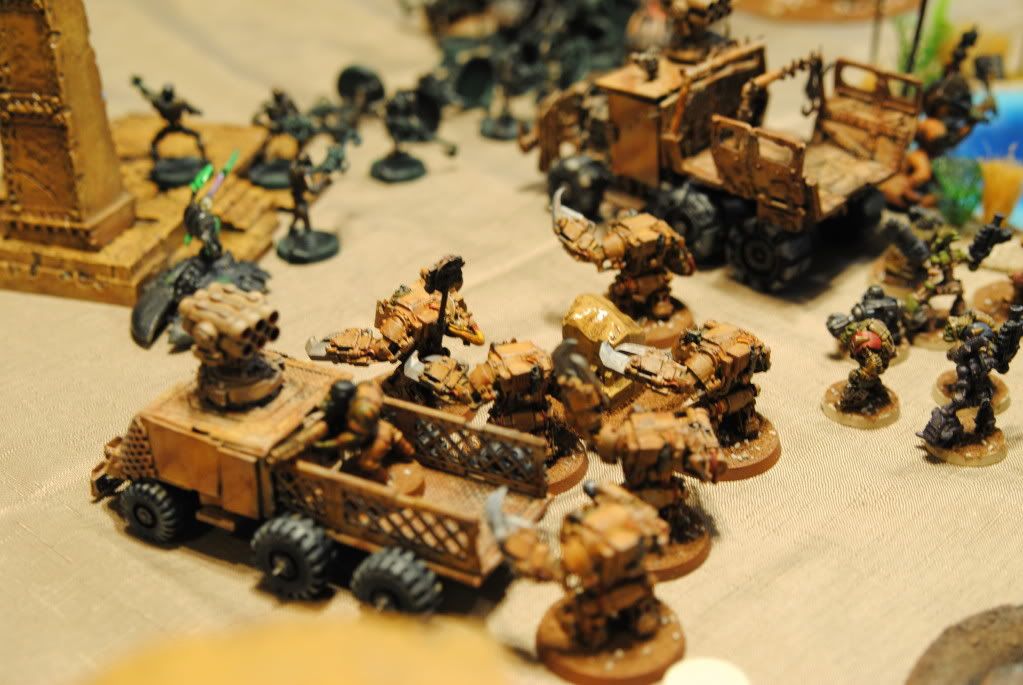
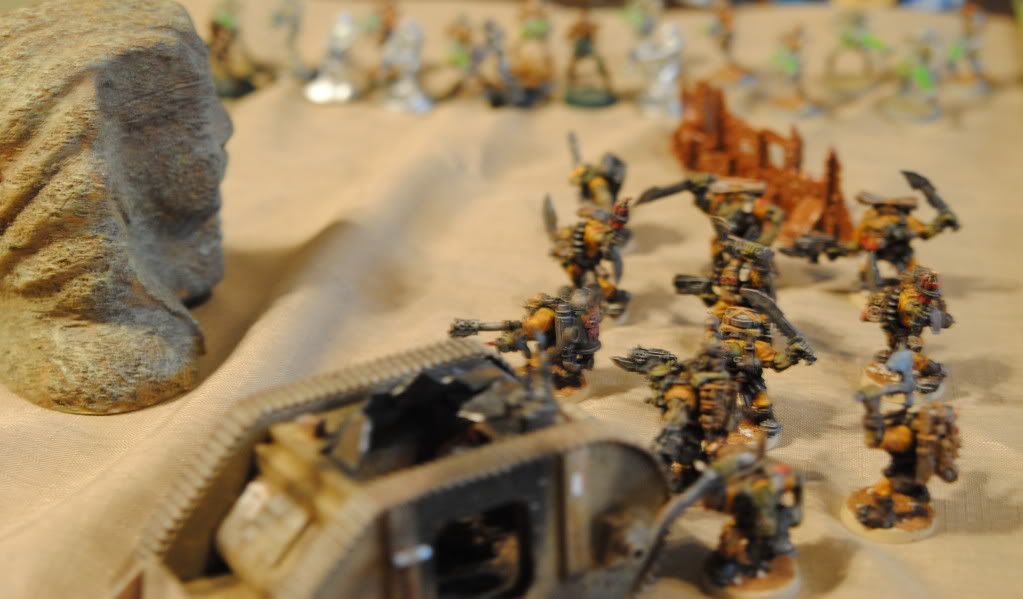
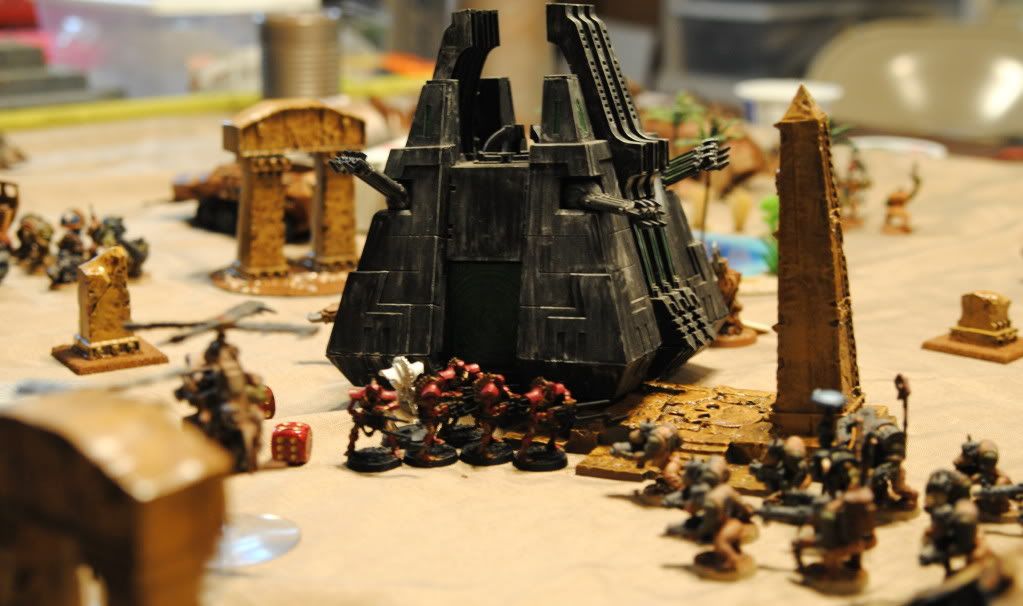
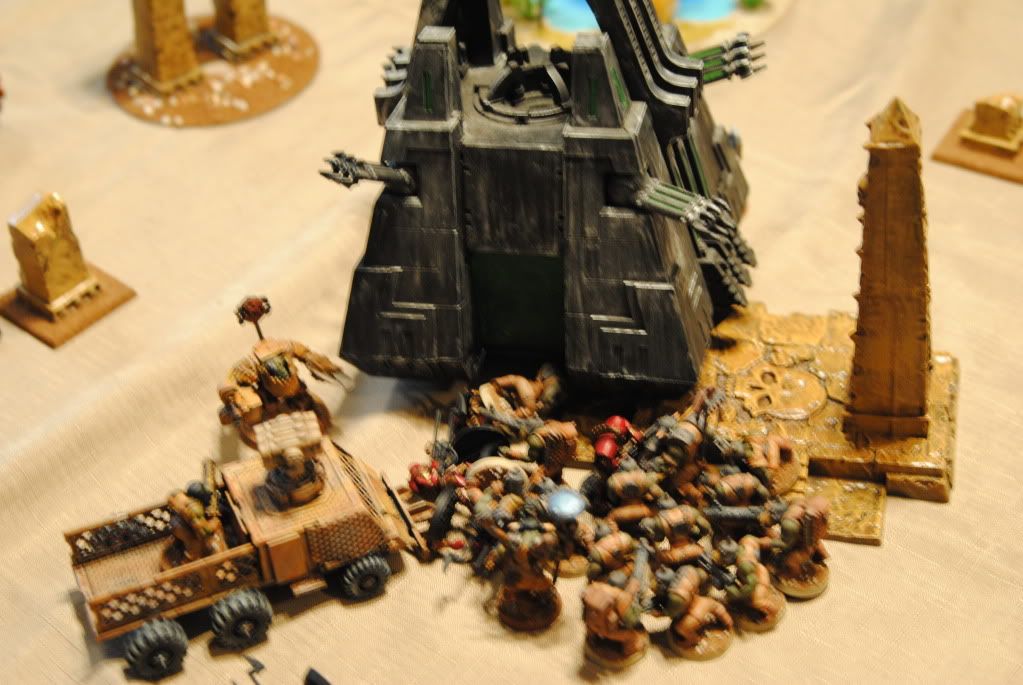
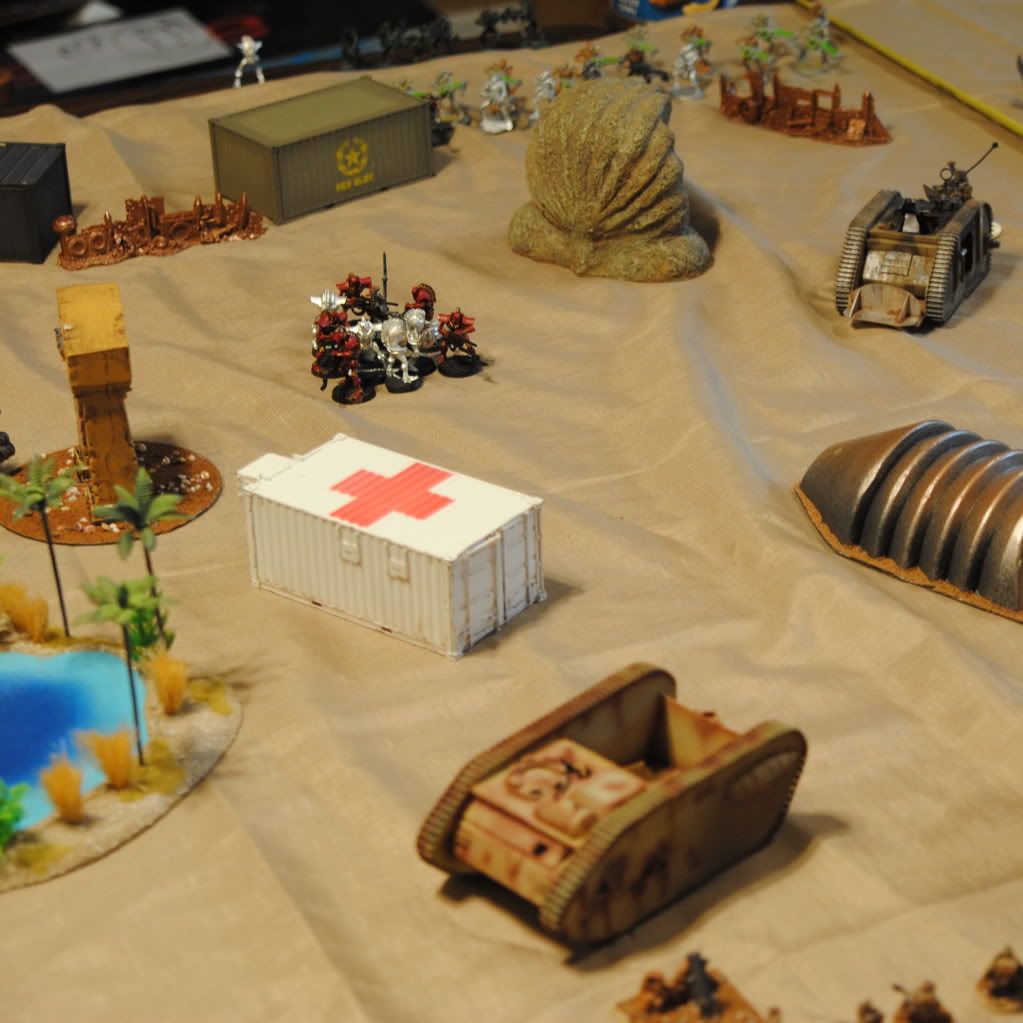
My latest league game was vs. Eddie and the Cruisers Necrons. 1500pts, Relic, Hammer and Anvil.
Showing posts with label necron. Show all posts
Tuesday, September 17, 2013
Saturday, January 12, 2013
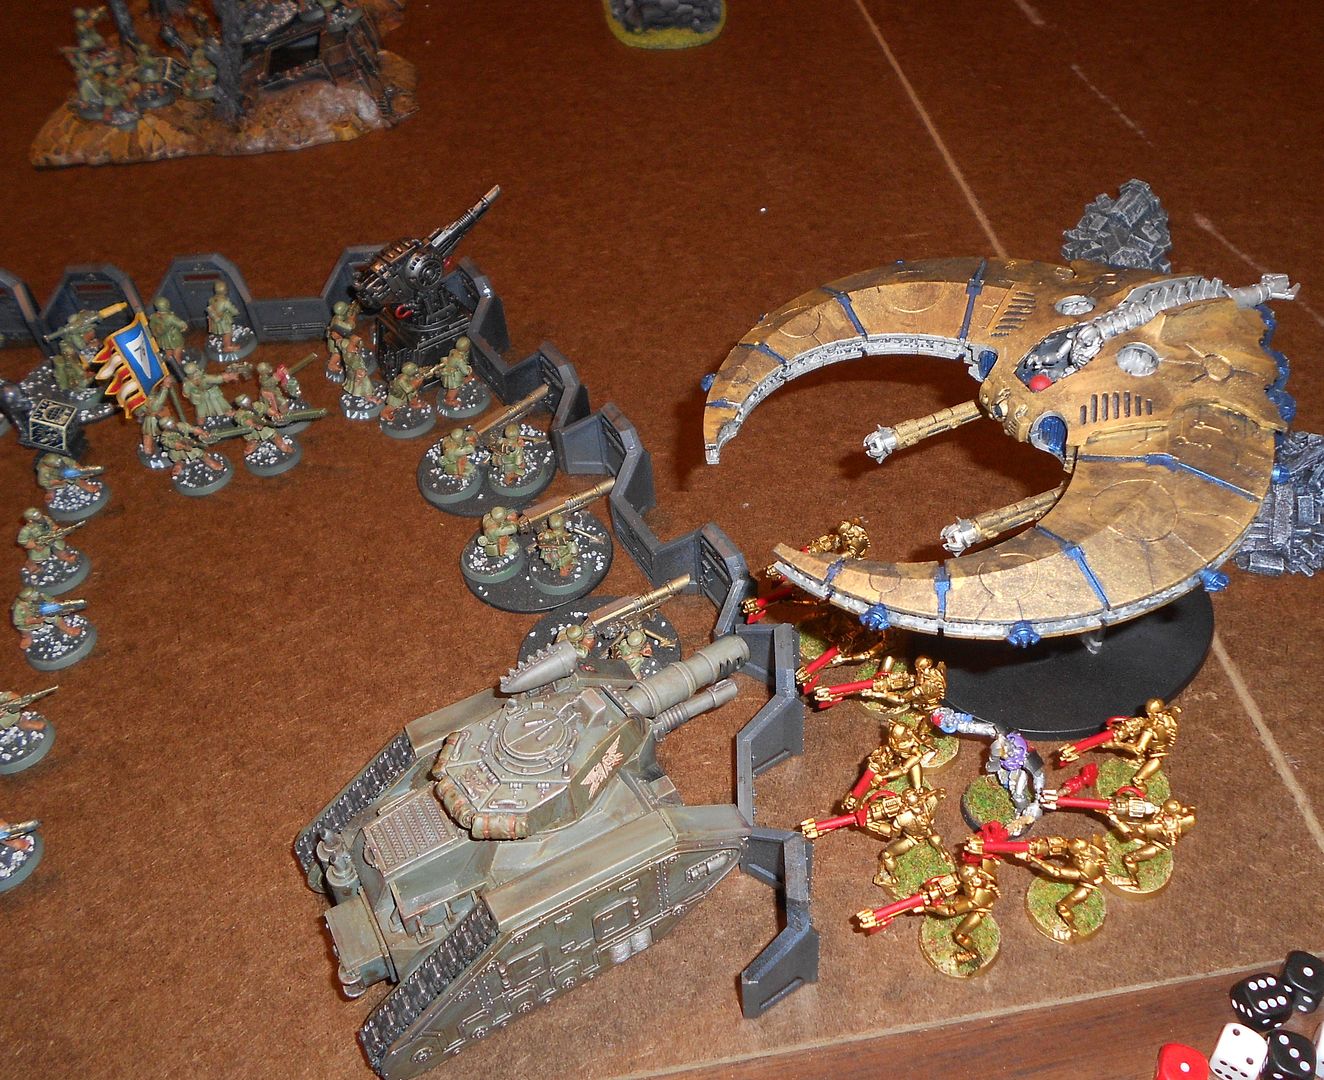
League Battle Report: Merkan 76th IG vs. Necrons
I had another league game earlier this week, with Patrick coming over to pit his Necrons against the valiant sons of Merka. We had 1500 pt forces, and rolled up a Crusade (five objectives) mission with Hammer and Anvil (short edges) deployment.
Labels:
40K,
battle report,
imperial guard,
league,
merkan 76th,
necron
Thursday, May 31, 2012
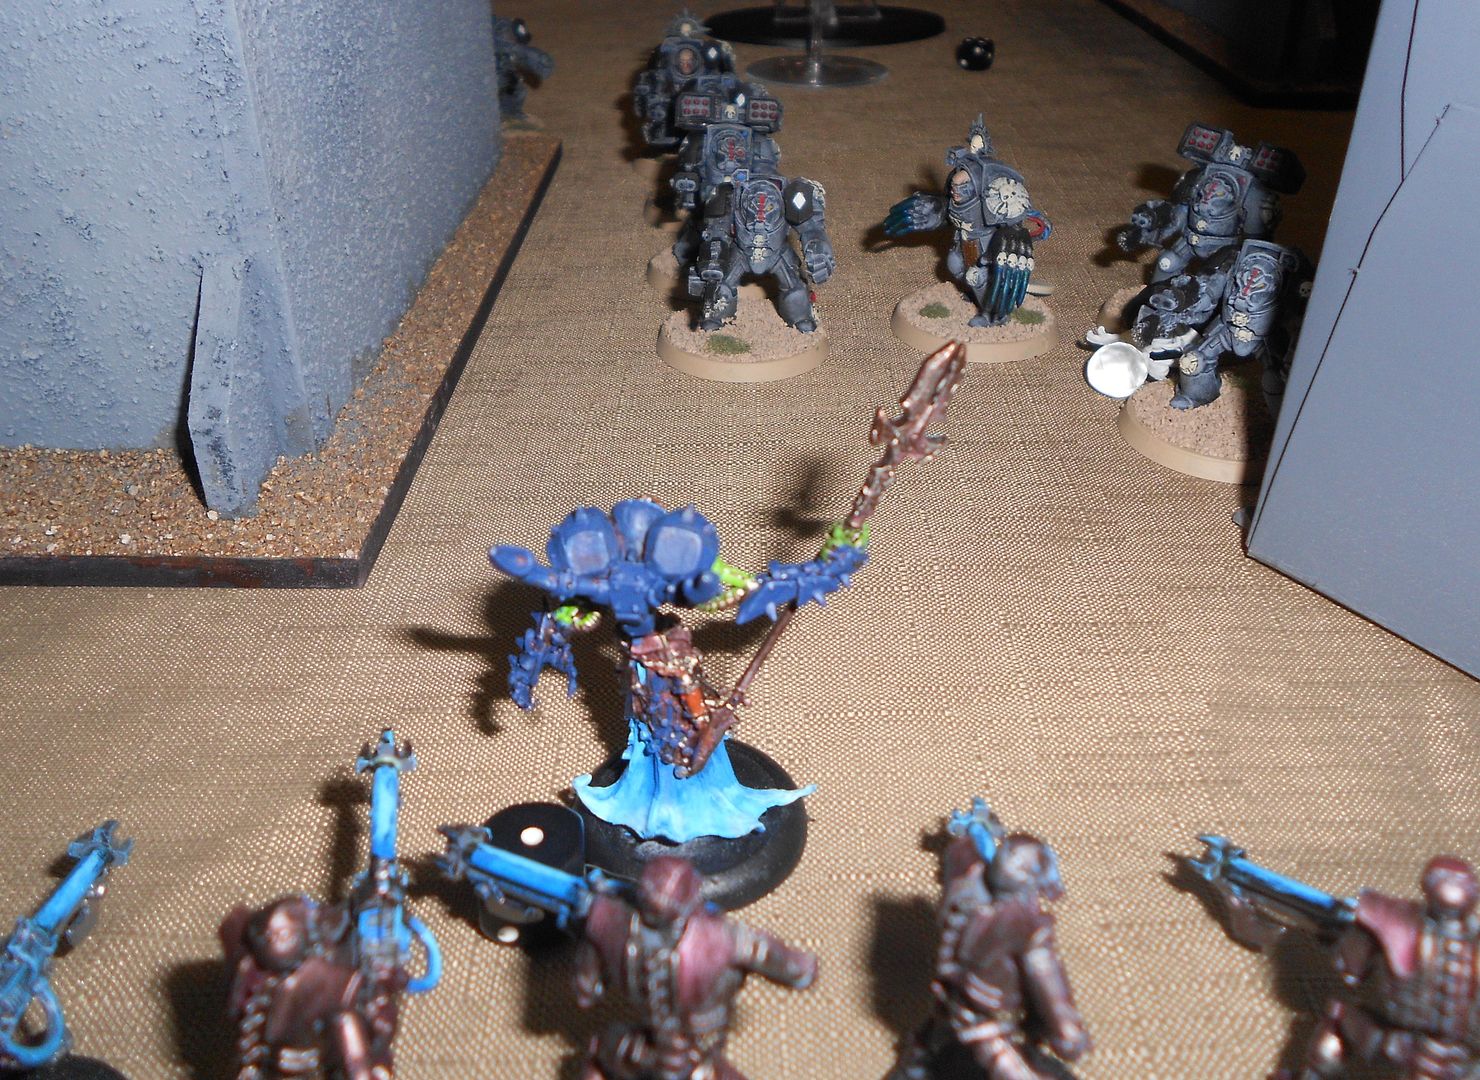
League Pictures - Space Sharks vs. Necrons
My friend John signed up for the 40K league at Gaming Underground today and we got in three fast games to get him his requirements for the month. Fast and furious, so I'm not going to go into great detail, just a bunch of pics. The new Necrons are tough, and it's hard to find the concentrated power at this points level to really knock out the bigger units.
Crons had 13 warriors, 9 flayed ones, three destroyers and a tomb spyder. I think he's got a pretty good setup, with a good amount of shooting, a solid HTH response and some great durability.
Labels:
40K,
league,
necron,
Space Marines,
Space Sharks
Wednesday, August 10, 2011
Carnage! Or something close. Four-way Batrep 1000pts
At Hobbytown there were four of us who were ready to game, and rather than pair off we decided to be foolish and go for a free-for-all game. I remembered some of the basics for the old Carnage mission so we went with that. 1000pts each, my Scythiak vs. Tau vs. Necrons vs. Squats (running as Dark Angels). One central objective, and the army with the closest unengaged model to the center at the end of the game wins.
Labels:
40K,
battle report,
counts-as,
necron,
Space Marines,
tau
Tuesday, November 23, 2010
Bash from the Past: Who let the Crons out? Tau vs. Necrons
November 2009
Got a game in with Greg, who I played in the previous report: Psyker Purge
Instead of SoB vs. Heretics, this time it was to be Necrons vs. Tau, a Xenos-on-Xenos deathmatch!
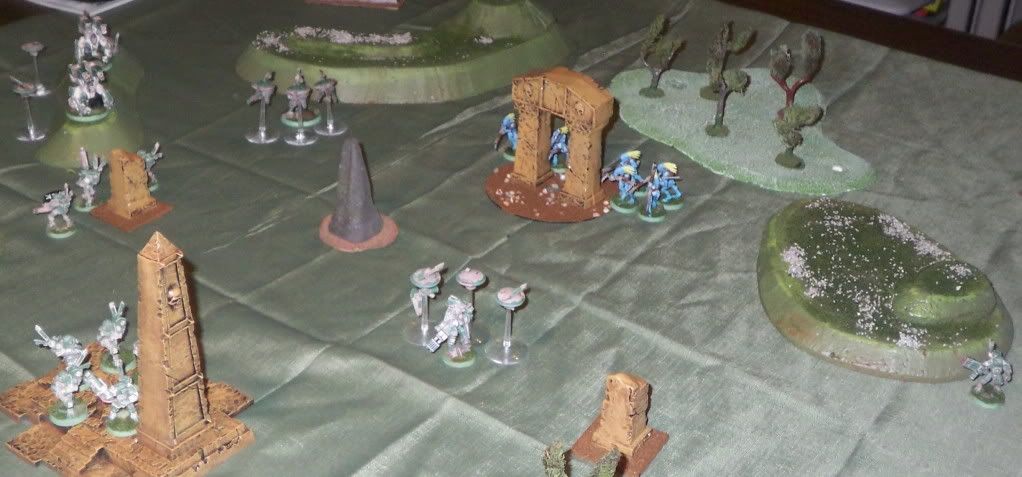
Mission was a Seize Ground, with three objectives (represented by the obelisk and archways from the Arcane Ruins set) with a Pitched Battle setup. We had some special rules for the central pylon and the "research stations" around the corners, but they never actually came into play. 1850pts.
The battlefield prior to the armies' arrival:


Snapshot of the Tau forces with pile o' kroot behind them:

I had:
Shadowsun
Three groups of stealth suits - 2x6, 1x3 which had one guy with fusion gun
2x10 Fire Warriors
4x12 Kroot
2xBroadsides
2xSniper Drone Teams
2x6 Vespid
The Necrons:

Greg had:
Lord w/Orb
2x10 Immortals
2x10 Warriors
2x5 Destroyers
Tomb Spyder
Monolith
Greg won the roll-off, and chose to pick sides/go first. He deployed in three groups - two groups of warriors behind immortals, and a third group on his left with both destroyer groups. I spread out facing the immortals/warriors, trying to avoid the destroyers initially and figuring they could redeploy away from me if I tried to concentrate on them too early. I kept three squads of kroot and the small stealth team in reserve to outflank, Greg kept the Monolith back to deepstrike it.


Pregame thoughts:
I was worried about the immortals and destroyers, as they could kick out a lot of shots on the move. They could vape squads if they caught them in the open, and could make it hard for the stealth teams to keep away from them. I was less worried about the warriors due to much shorter range if they moved. There were a couple of ways to deal with the monolith, chief among them the broadsides. Hopefully they wouldn't get shot up before the monolith showed up, though the lack of AP2 necron weapons made me feel pretty safe with them. Also some EMP grenades on the FW could serve as backup.
Turn 1:
Necrons move up, shoot up the central fire warrior squad in the woods. Have several blown spotting checks to target sniper drone teams.
Tau take out Tomb Spyder with the Broadsides, move up along my left flank. Shoot up a few destroyers and immortals.


Turn 2:
Monolith does not come in. Immortals move to get a clear shot and vaporize flanking Fire Warrior squad.

Destroyers move closer to the center, take out one sniper team. Two Necron units fail to spot due to stealth fields.

Tau turn - two kroot units arrive on right flank behind destroyers.

Vespid, Stealth Suits and Shadowsun move up on other side to engage Immortals/Warriors.

Shooting weakens the immortals, and Vespid charge in to tie up the units. One destroyer unit is taken out by firepower, Kroot charge in to the other.


The Vespid, being Vespid, don't defeat their enemies but they do manage to pin them in place. The Kroot overwhelm the Destroyers, and since both units are down they don't get to make WBB and disappear.
Turn 3:
Though they did well to take out the Destroyers, the Kroot are now out in the open. Bad when there's a warrior squad in rapidfire range, a unit of immortals nearby...and now a Monolith.
View before Necron shooting:

View AFTER Necron shooting:

One Kroot breaks and runs, the other one decides today is a good day to die and continues on.
The Necrons continue to pour fire into the FW squad in the middle, breaking it and running it off the board.

Tau: Start taking some shots at the Monolith, immobilize it.

The Warriors+Lord beat the purple vespid, but the green ones continue to hold the immortals with the help of Shadowsun and her drones who apparently know how to hit a robot where it hurts.

Last Kroot squad also came onto my left flank (by the close combat).

Turn 4:
Lord and Warriors reposition and shoot up a few Kroot.

Central Kroot get shot up and fall back.
CC continues

3-man stealth suit squad arrives on left flank. They join in with the Kroot and another stealth squad in pounding the warriors...who fail their morale check and start falling back! Stealth team uses its jet pack move to keep close enough to keep them from being able to rally.

Turn 5:
The warrior+lord unit, unable to rally falls back again but is still on the table. They shoot up the Stealth Squad escorting them off, but one manages to survive. The Vespid are wiped out by the immortals, but Shadowsun holds. Immortals move over to the center while the other warrior squad hides behind the monolith on one of the objectives. The Kroot move over and join the scrum to help Shadowsun.


Turn 6:
The lord+warriors finish routing off of the table. Shadowsun and Kroot finish off the immortals in CC, and the Tau reposition to pound the remaining Immortal squad.

Shadowsun charges the remaining two Immortals but everybody flubs their attacks.

Turn 7:
The downed Immortals fail their WBB checks, taking the army below 25%, and the remaining Necrons Phase Out. Victory for the Greater Good!


Postgame thoughts:
This was a nailbiter for me. Taking out the Destroyers early helped, but as my Troops units kept running away I was getting worried. I was down to the last Kroot unit, which was saved by a round of good cover saves and the breaking warriors+lord squad.
If the game had ended on Turn 5, Greg would have won 1-0 as the Immortals were still contesting with the Kroot. Ending on turn 6 would have been a 1-1 draw. Only going to turn 7 got me the phase out and the win. Opposite of my last match with Greg, where the momentum went his way.
It was interesting seeing two shooty type forces go at it, and to have Kroot as the nastiest CC units on the table (well, aside from the lord himself and the tomb spyder). It was also nice to see the army perform more like I hoped it would when I originally built it - it's first outing didn't work out quite as well - see Dining Room of Death.
Got a game in with Greg, who I played in the previous report: Psyker Purge
Instead of SoB vs. Heretics, this time it was to be Necrons vs. Tau, a Xenos-on-Xenos deathmatch!
Mission was a Seize Ground, with three objectives (represented by the obelisk and archways from the Arcane Ruins set) with a Pitched Battle setup. We had some special rules for the central pylon and the "research stations" around the corners, but they never actually came into play. 1850pts.
The battlefield prior to the armies' arrival:
Snapshot of the Tau forces with pile o' kroot behind them:
I had:
Shadowsun
Three groups of stealth suits - 2x6, 1x3 which had one guy with fusion gun
2x10 Fire Warriors
4x12 Kroot
2xBroadsides
2xSniper Drone Teams
2x6 Vespid
The Necrons:
Greg had:
Lord w/Orb
2x10 Immortals
2x10 Warriors
2x5 Destroyers
Tomb Spyder
Monolith
Greg won the roll-off, and chose to pick sides/go first. He deployed in three groups - two groups of warriors behind immortals, and a third group on his left with both destroyer groups. I spread out facing the immortals/warriors, trying to avoid the destroyers initially and figuring they could redeploy away from me if I tried to concentrate on them too early. I kept three squads of kroot and the small stealth team in reserve to outflank, Greg kept the Monolith back to deepstrike it.
Pregame thoughts:
I was worried about the immortals and destroyers, as they could kick out a lot of shots on the move. They could vape squads if they caught them in the open, and could make it hard for the stealth teams to keep away from them. I was less worried about the warriors due to much shorter range if they moved. There were a couple of ways to deal with the monolith, chief among them the broadsides. Hopefully they wouldn't get shot up before the monolith showed up, though the lack of AP2 necron weapons made me feel pretty safe with them. Also some EMP grenades on the FW could serve as backup.
Turn 1:
Necrons move up, shoot up the central fire warrior squad in the woods. Have several blown spotting checks to target sniper drone teams.
Tau take out Tomb Spyder with the Broadsides, move up along my left flank. Shoot up a few destroyers and immortals.
Turn 2:
Monolith does not come in. Immortals move to get a clear shot and vaporize flanking Fire Warrior squad.
Destroyers move closer to the center, take out one sniper team. Two Necron units fail to spot due to stealth fields.
Tau turn - two kroot units arrive on right flank behind destroyers.
Vespid, Stealth Suits and Shadowsun move up on other side to engage Immortals/Warriors.
Shooting weakens the immortals, and Vespid charge in to tie up the units. One destroyer unit is taken out by firepower, Kroot charge in to the other.
The Vespid, being Vespid, don't defeat their enemies but they do manage to pin them in place. The Kroot overwhelm the Destroyers, and since both units are down they don't get to make WBB and disappear.
Turn 3:
Though they did well to take out the Destroyers, the Kroot are now out in the open. Bad when there's a warrior squad in rapidfire range, a unit of immortals nearby...and now a Monolith.
View before Necron shooting:
View AFTER Necron shooting:
One Kroot breaks and runs, the other one decides today is a good day to die and continues on.
The Necrons continue to pour fire into the FW squad in the middle, breaking it and running it off the board.
Tau: Start taking some shots at the Monolith, immobilize it.
The Warriors+Lord beat the purple vespid, but the green ones continue to hold the immortals with the help of Shadowsun and her drones who apparently know how to hit a robot where it hurts.
Last Kroot squad also came onto my left flank (by the close combat).
Turn 4:
Lord and Warriors reposition and shoot up a few Kroot.
Central Kroot get shot up and fall back.
CC continues
3-man stealth suit squad arrives on left flank. They join in with the Kroot and another stealth squad in pounding the warriors...who fail their morale check and start falling back! Stealth team uses its jet pack move to keep close enough to keep them from being able to rally.
Turn 5:
The warrior+lord unit, unable to rally falls back again but is still on the table. They shoot up the Stealth Squad escorting them off, but one manages to survive. The Vespid are wiped out by the immortals, but Shadowsun holds. Immortals move over to the center while the other warrior squad hides behind the monolith on one of the objectives. The Kroot move over and join the scrum to help Shadowsun.
Turn 6:
The lord+warriors finish routing off of the table. Shadowsun and Kroot finish off the immortals in CC, and the Tau reposition to pound the remaining Immortal squad.
Shadowsun charges the remaining two Immortals but everybody flubs their attacks.
Turn 7:
The downed Immortals fail their WBB checks, taking the army below 25%, and the remaining Necrons Phase Out. Victory for the Greater Good!
Postgame thoughts:
This was a nailbiter for me. Taking out the Destroyers early helped, but as my Troops units kept running away I was getting worried. I was down to the last Kroot unit, which was saved by a round of good cover saves and the breaking warriors+lord squad.
If the game had ended on Turn 5, Greg would have won 1-0 as the Immortals were still contesting with the Kroot. Ending on turn 6 would have been a 1-1 draw. Only going to turn 7 got me the phase out and the win. Opposite of my last match with Greg, where the momentum went his way.
It was interesting seeing two shooty type forces go at it, and to have Kroot as the nastiest CC units on the table (well, aside from the lord himself and the tomb spyder). It was also nice to see the army perform more like I hoped it would when I originally built it - it's first outing didn't work out quite as well - see Dining Room of Death.
Wednesday, June 30, 2010
Scrap pile pile-on: Orks vs. Necrons Battle Report

Got a game in today with my friend John, who brought over his Necrons. He didn't have a preference for who to fight against, so I broke out the Orks who are based to fit the desert-themed terrain I had laid out.
I had my standard Ork list, Kaptin Krumpa's Blood Axe Armored Cav:
Warboss Mega Armor, Cybork Body, Bosspole(115)
Big Mek Kustom Force Field, Bosspole, Eavy Armor (95)
12xKommandos 2xBurnas Nob w/PowerKlaw, Eavy Armor, Bosspole (195)
5xMeganobz 3xShoota-Skorchas Battlewagon w/Grot Riggers, Armor Plates, Grabbin Klaw, Reinforced Ram, 2xBig Shootas (340)
10xGrots, Runtherd (40)
30xBoyz (Shootas) 3xBig Shootas,Nob w/Big Choppa, Eavy Armor, Bosspole (220)
12xBoyz(slugga/choppa) Ardboyz Nob w/PK, Bosspole Trukk – Rokkit, Ram (205)
11xBoyz (Shootas) Big Shoota Trukk – Rokkit, Ram (116)
6xBikes Nob w/ Power Klaw and Bosspole (190)
2xKoptas w/TL Rokkits (90)
3xLobbas, w/2 ammo runts (piles of ammo) (81)
The forces of Tomb World B'Yas:
Lord with Destroyer body, warscythe, lightning field (with one warrior group)
Lord on foot with warscythe, res orb, veil of darkness (with immortals)
2 groups of 17 Warriors
10 Immortals
3 Destroyers
7 Scarabs
Tomb Spyder
Monolith
We went for a random standard mission and wound up with Annihilation with a Dawn of War setup.
John won the roll-off, and accordingly deployed first. He put down one squad of Warriors along with the Destroyer Lord. The Monolith would Deepstrike, the other Warrior squad would come in via Reserves, and the rest of the army would walk/float on Turn 1.
I deployed my big Shoota Boy mob to face off against the Warriors and included the Big Mek to give them some protection against massed guass shooting. Besides, he wanted first crack at all those robot parts! My Kommandos would Outflank, the Grots would walk on (and try to avoid becoming an easy KP), the rest would roll on Turn 1.
I fail to seize the initiative and the Necrons start Turn 1.
The initial warrior squad moves up, while scarabs, immortals + lord, tomb spyder and destroyers charge onto the field. With the Orks being out of rapidfire range, we move on to the Ork turn.
The koptas come in on my far left, turbo boosting towards the destroyers. The shoota boys move up, as the battlewagon and trukks come on together, smashing over barriers. Bikers patrol out to the right to cover the mechanized assault. There's some shooting from the big mob into the warriors that knocks a few down, but only one permanently.
VROOM!
The Necrons move up, shooting up the big mob of shoota boys while the Destroyers shoot and then charge the koptas, but the result is a standoff.
The Orks surge forward. The shootas slide over and charge into the side of the destroyers to back up the koptas, while other units hit the warriors and scarabs. The battlewagon, despite the ram, manages to immobilize itself trying to finish crossing over the barricade. Throughout the game the Grot Riggers toil to repair it but apparently can't remember where the spare tracks are.
The Destroyers are dispatched, as are the scarabs. The Orks assaulting into the lightning field fare more poorly, with the sluggas being run off but the bikers holding firm.
The Tomb Spyder charges in to support the warriors, and combined they finish off the bikers but the spyder also goes down to the biker nob's klaw attacks.

The Kommandos arrive, but are in turn outflanked by another squad of warriors, who proceed to gauss flay all of them but the nob.
Meanwhile the Immortals teleport over and take shots at the Lobbas, killing one crew and wrecking two guns.
The Kommando nob, unable to reach a target in a charge, opts for discretion and hoofs it behind some cover. A Necron Lord detaches and charges the nob, warscythe hungry for Ork blood.
Before the nob's powerklaw can be brought into play, the warscythe has already cut through the arm the klaw was attached to. The last of the Kommandos is gone.
Meanwhile an Ork trukk shocks the initial unit of warriors, making them fall back!
Another trukk shepherds them off the table, while this one turns and shocks the Immortals, who hold firm and get charged by the Ard Boyz.

The Monolith finally arrives on turn 5 and zaps everything in range, and pulls the Immortals out of combat, leaving the Ard Boyz confused and exposed.

The warriors and lord on the other side charge and finish off the Ard Boyz, but in turn are trukk shocked and fall back on a boxcars morale check. The Warboss detaches from the meganobz but his slow and purposeful rolls keep him from being able to charge the Immortals, but the shoota boys make contact and chop a few down, leaving one standing. The meganobz charge the monolith but fail to connect with their klaws.
We roll to see if the game ends, and it's all over! The count is at 7 (two warrior squads, two lords, tomb spyder, scarabs, destroyers) to 4 (sluggas, ard boyz, bikers, kommandos) in favor of the Orks.
I think that John may have moved up a little too far, too fast, but that lightning field is golden against Orks. The battlwagon getting stuck was annoying but funny, especially as it kept failing repair check after repair check. The megas were still able to get into the fray just fine, so it really didn't hurt. While I think he did come up a little fast, John did do a good job of being aggressive against the Orks, getting the charge off several times to deny me extra attacks/furious charge and trusting in his good saves and my poor ones to see him through. If he hadn't failed the tank shock checks things could certainly have gone differently, or at least it would have been more like 5-4 instead of 7-4, and if he had made checks and the game had continued the bots might have been able to turn it around.
Lord with Destroyer body, warscythe, lightning field (with one warrior group)
Lord on foot with warscythe, res orb, veil of darkness (with immortals)
2 groups of 17 Warriors
10 Immortals
3 Destroyers
7 Scarabs
Tomb Spyder
Monolith
We went for a random standard mission and wound up with Annihilation with a Dawn of War setup.
John won the roll-off, and accordingly deployed first. He put down one squad of Warriors along with the Destroyer Lord. The Monolith would Deepstrike, the other Warrior squad would come in via Reserves, and the rest of the army would walk/float on Turn 1.
I fail to seize the initiative and the Necrons start Turn 1.
The initial warrior squad moves up, while scarabs, immortals + lord, tomb spyder and destroyers charge onto the field. With the Orks being out of rapidfire range, we move on to the Ork turn.
The koptas come in on my far left, turbo boosting towards the destroyers. The shoota boys move up, as the battlewagon and trukks come on together, smashing over barriers. Bikers patrol out to the right to cover the mechanized assault. There's some shooting from the big mob into the warriors that knocks a few down, but only one permanently.
VROOM!
The Necrons move up, shooting up the big mob of shoota boys while the Destroyers shoot and then charge the koptas, but the result is a standoff.
The Orks surge forward. The shootas slide over and charge into the side of the destroyers to back up the koptas, while other units hit the warriors and scarabs. The battlewagon, despite the ram, manages to immobilize itself trying to finish crossing over the barricade. Throughout the game the Grot Riggers toil to repair it but apparently can't remember where the spare tracks are.
The Destroyers are dispatched, as are the scarabs. The Orks assaulting into the lightning field fare more poorly, with the sluggas being run off but the bikers holding firm.
The Tomb Spyder charges in to support the warriors, and combined they finish off the bikers but the spyder also goes down to the biker nob's klaw attacks.
The Kommandos arrive, but are in turn outflanked by another squad of warriors, who proceed to gauss flay all of them but the nob.
Meanwhile the Immortals teleport over and take shots at the Lobbas, killing one crew and wrecking two guns.
The Kommando nob, unable to reach a target in a charge, opts for discretion and hoofs it behind some cover. A Necron Lord detaches and charges the nob, warscythe hungry for Ork blood.
Before the nob's powerklaw can be brought into play, the warscythe has already cut through the arm the klaw was attached to. The last of the Kommandos is gone.
Meanwhile an Ork trukk shocks the initial unit of warriors, making them fall back!
Another trukk shepherds them off the table, while this one turns and shocks the Immortals, who hold firm and get charged by the Ard Boyz.
The Monolith finally arrives on turn 5 and zaps everything in range, and pulls the Immortals out of combat, leaving the Ard Boyz confused and exposed.
The warriors and lord on the other side charge and finish off the Ard Boyz, but in turn are trukk shocked and fall back on a boxcars morale check. The Warboss detaches from the meganobz but his slow and purposeful rolls keep him from being able to charge the Immortals, but the shoota boys make contact and chop a few down, leaving one standing. The meganobz charge the monolith but fail to connect with their klaws.
We roll to see if the game ends, and it's all over! The count is at 7 (two warrior squads, two lords, tomb spyder, scarabs, destroyers) to 4 (sluggas, ard boyz, bikers, kommandos) in favor of the Orks.
I think that John may have moved up a little too far, too fast, but that lightning field is golden against Orks. The battlwagon getting stuck was annoying but funny, especially as it kept failing repair check after repair check. The megas were still able to get into the fray just fine, so it really didn't hurt. While I think he did come up a little fast, John did do a good job of being aggressive against the Orks, getting the charge off several times to deny me extra attacks/furious charge and trusting in his good saves and my poor ones to see him through. If he hadn't failed the tank shock checks things could certainly have gone differently, or at least it would have been more like 5-4 instead of 7-4, and if he had made checks and the game had continued the bots might have been able to turn it around.
Subscribe to:
Posts (Atom)