September 2008
Gave my assembled but not yet painted Tau from the Tale of the Eternity Gate Gamers a test drive with the help of my friend John and his Crimson Fists.
My list:
Shadowsun
2x6 man stealth teams
3 man stealth team w/fusion blaster
2x10 Fire Warriors
4x12 Kroot
2x6 Vespid
2xBroadsides
2xSniper drone teams
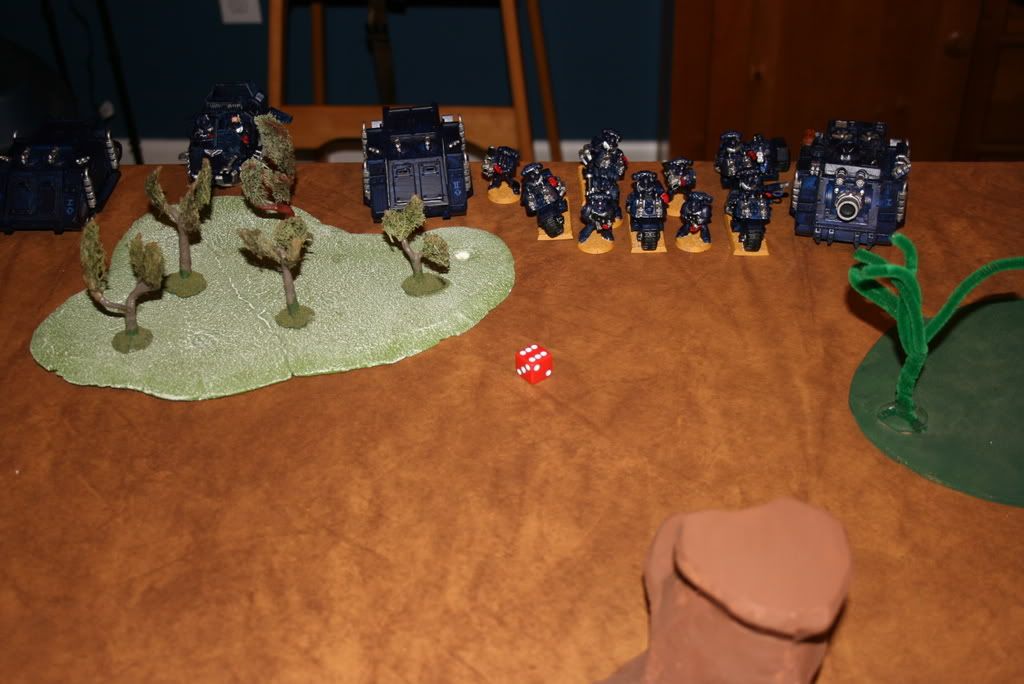
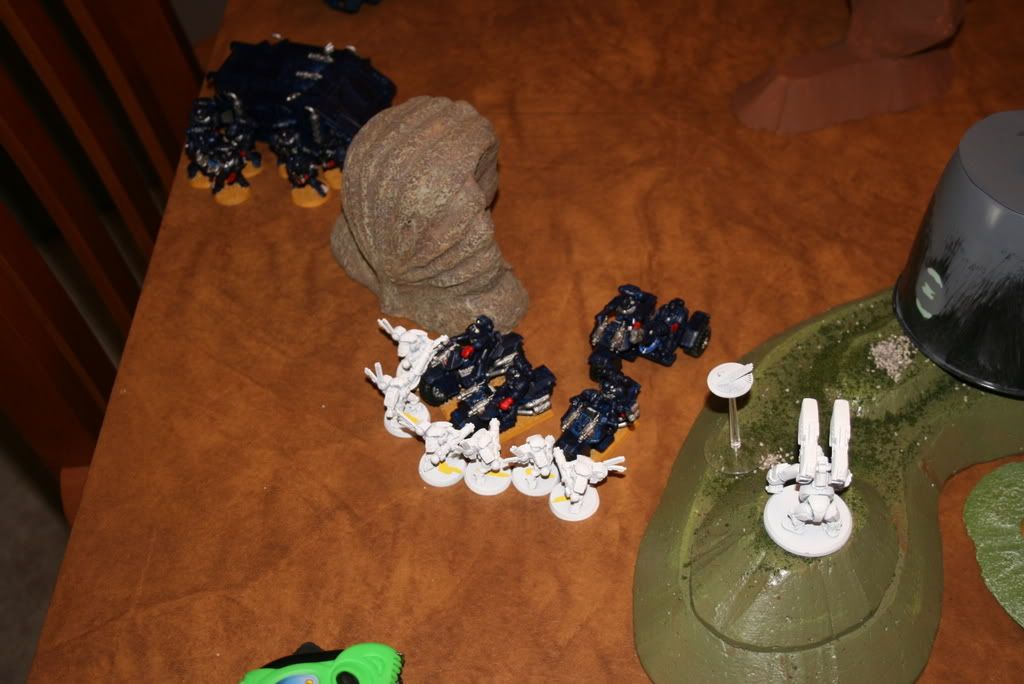
His list:
Chaplain and tooled up command squad in drop pod
Ven dread AC/HF in drop pod
2xTacticals w/plasmagun, sgt w/fist in rhinos
4xbikes, sgt w/fist, attack bike multimelta
5 man dev squad w/3xML
LS tornado HB/AC
Vindicator
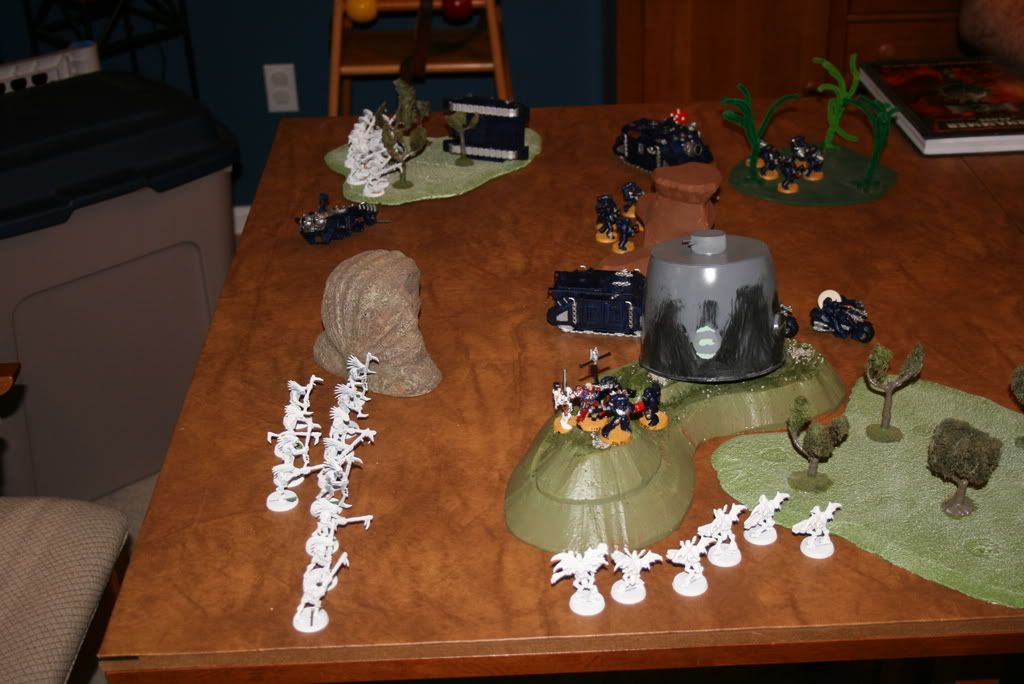
Rolled up a pitched battle Annihilation mission.
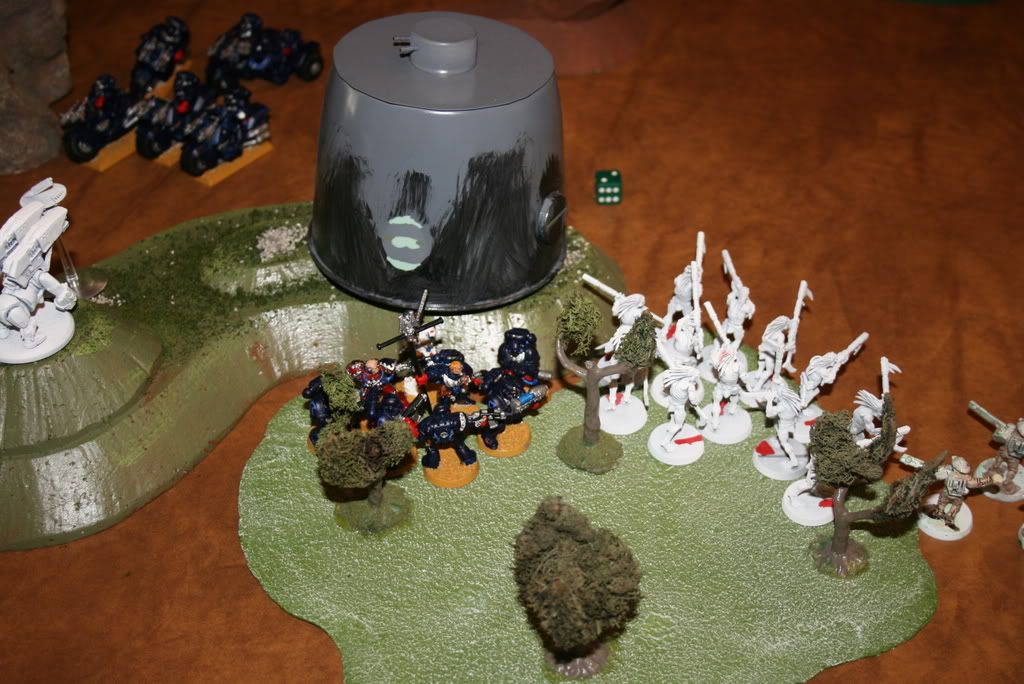
I won to pick sides/go first so set up first:
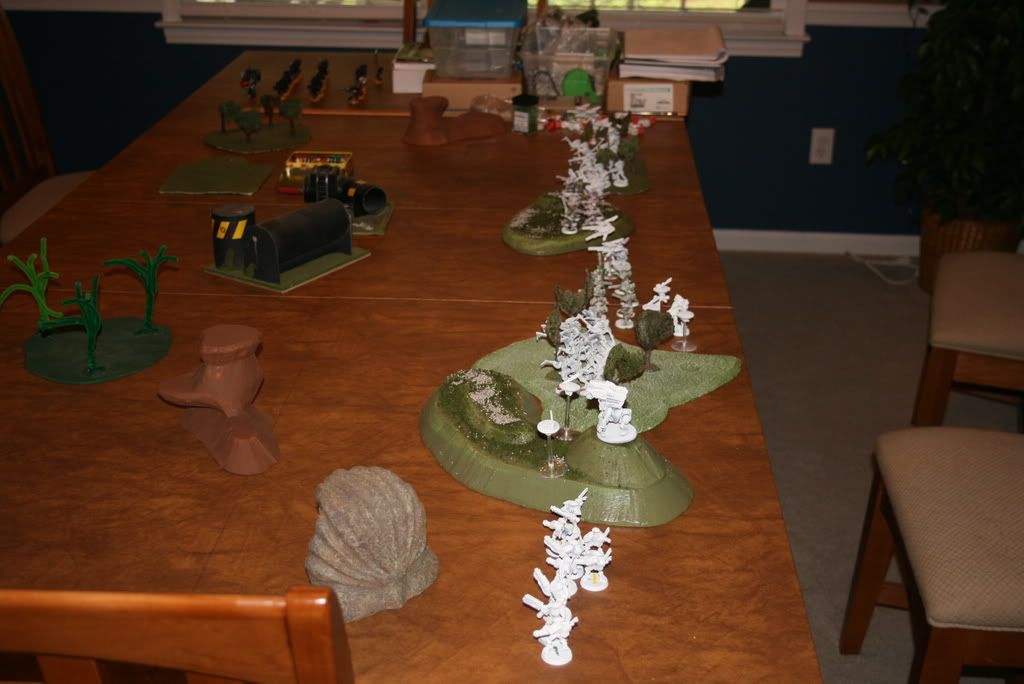
The Vespid are kept in reserve, and two Kroot squads are sent to Outflank.
Marines set up in force on their right flank. They roll to seize the initiative, and do so! Rhinos rumble forward.
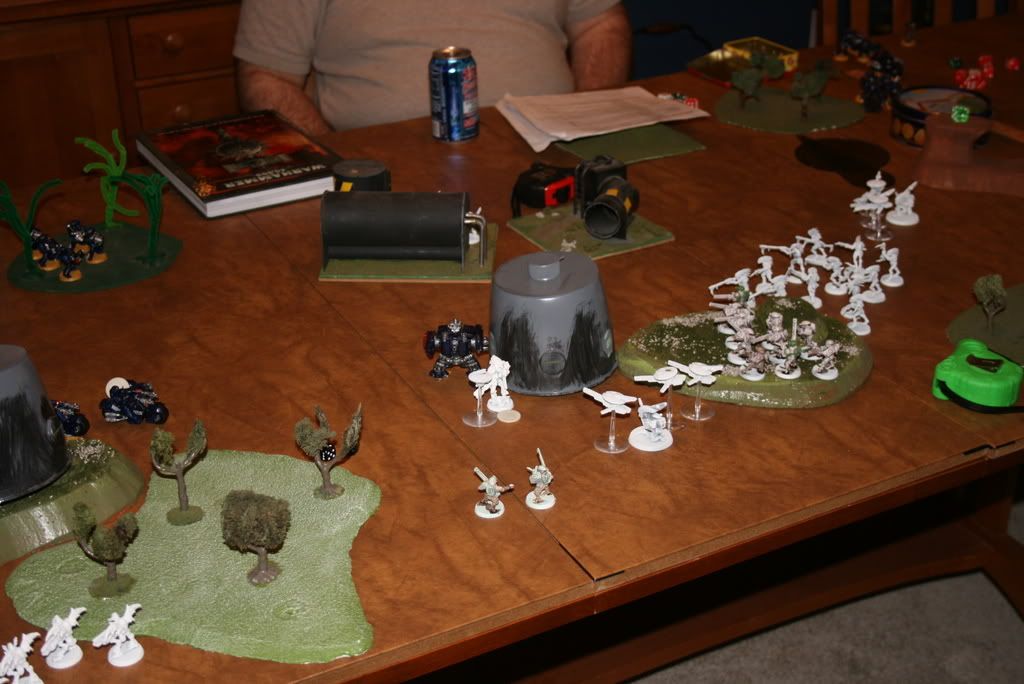
Marine firepower manages to strip a shield drone off of the Broadside on the hill. Thanks to Shadowsun being nearby, passes morale.
Tau first salvos manage to pop one rhino from a cross-table broadside shot, and stealth suits bring down the landspeeder.
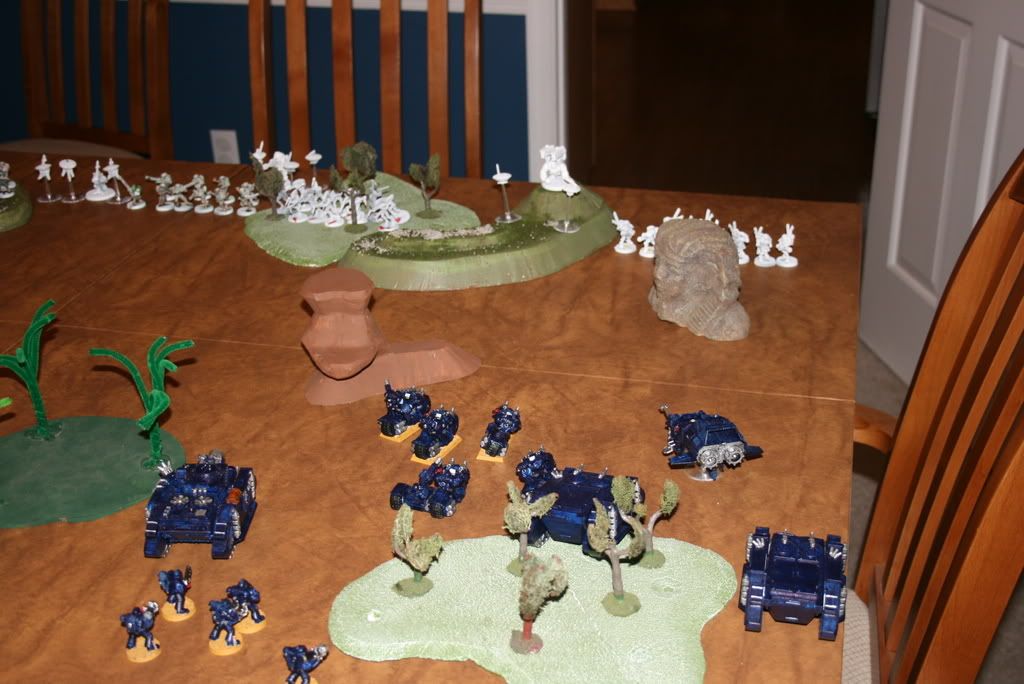
Command squad arrives and double-flamers Kroot into oblivion, while surviving rhino unloads rapid-firing marines to wipe out small stealth team and bikes charge larger squad.
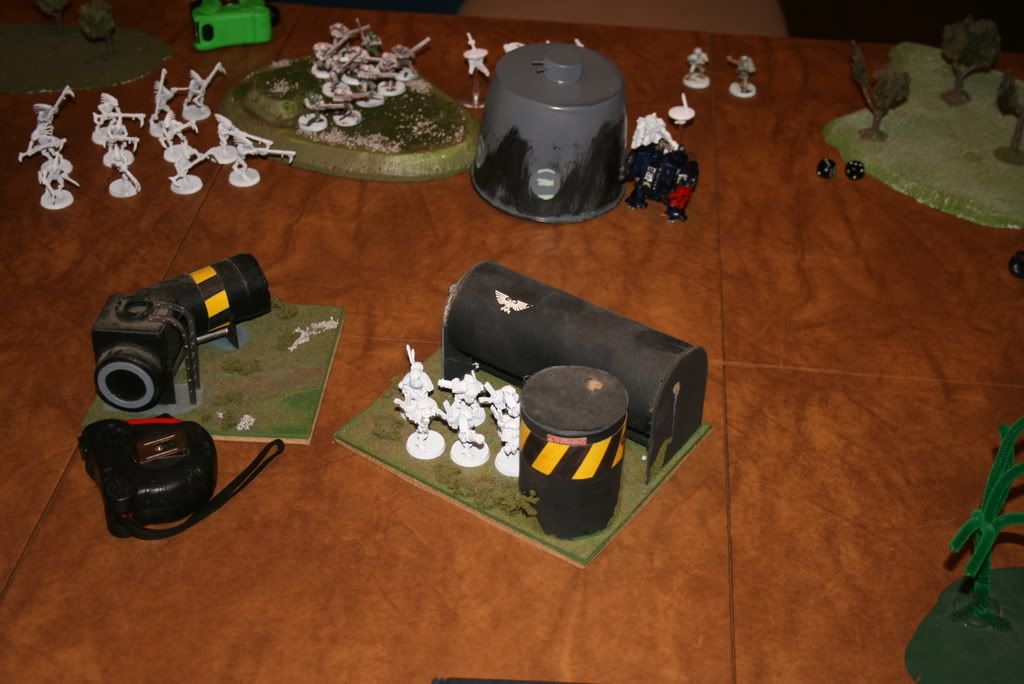
One Vespid unit arrives, kills a biker but then is quickly run off the table.
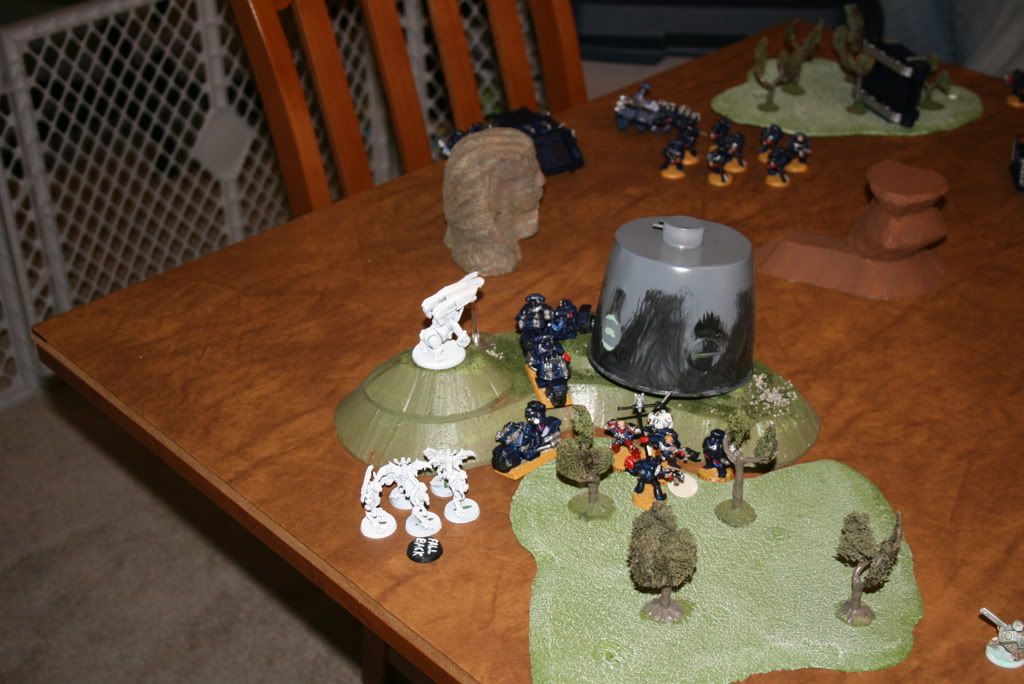
Dreadnought deploys from drop pod, targeting the Tau commander.
Remaining Vespid and outflanking Kroot arrive to attempt to turn the tide of the battle. Unfortunately marine resiliency keeps their impact small.
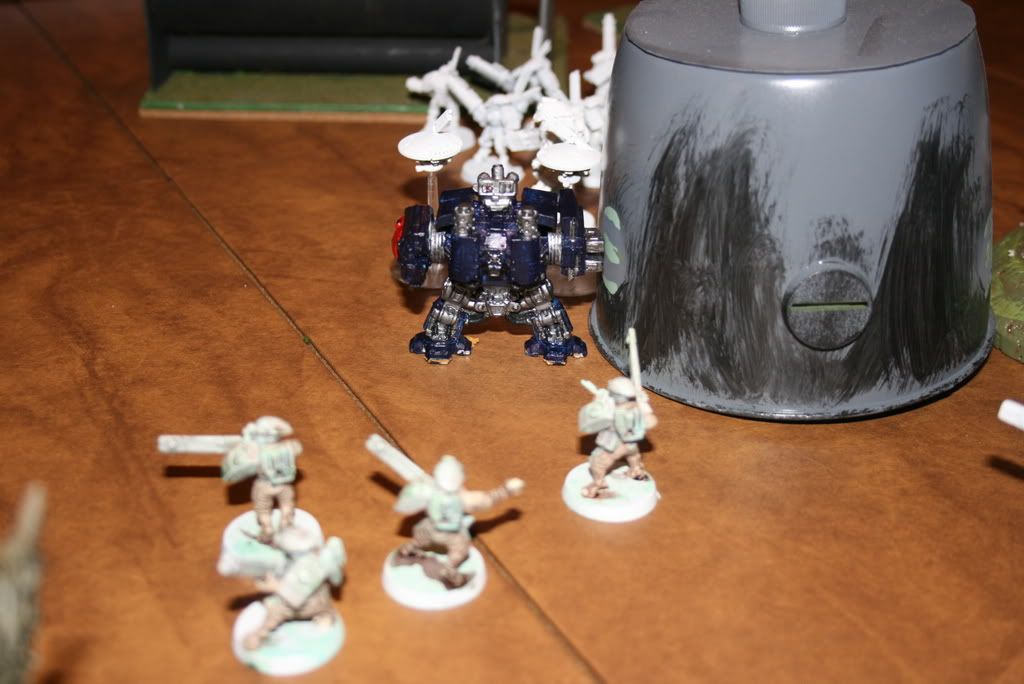
Shadowsun hops behind the Dreadnought, unloading two BS5 fusion blasters point blank at the clumsy behemoth...
...and proceeds to miss once, roll double 1's for penetration with the other getting a glance which is ven-rerolled down to a shaken result. <_< What's the Tau word for "Doh!"?
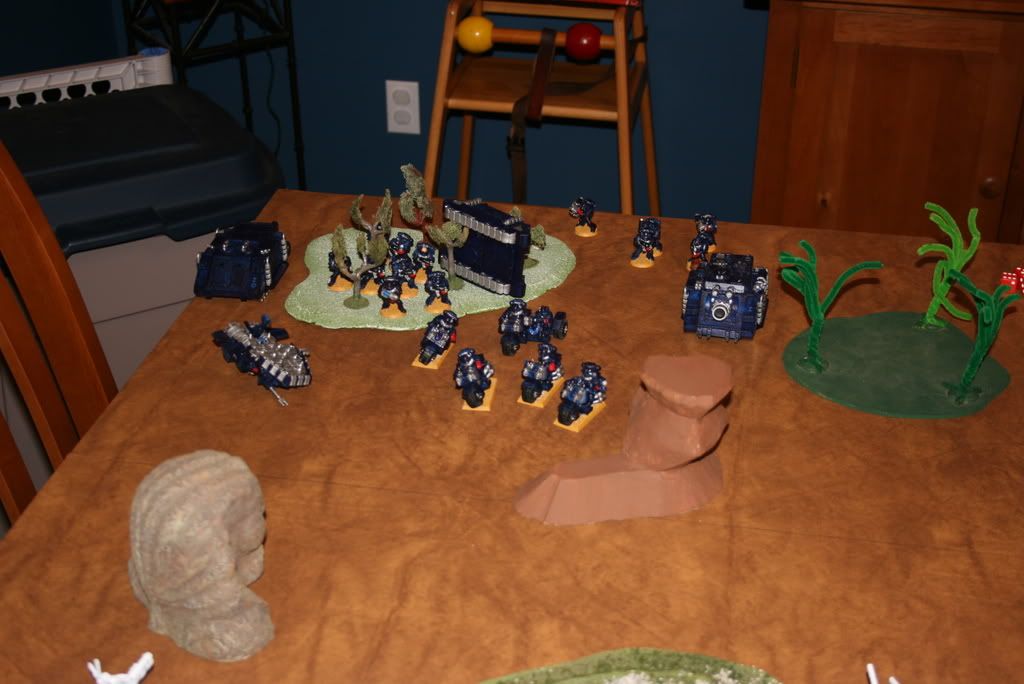
Meanwhile surviving stealth team starts maneuvering away from dread and towards better targets, and the marines and command squad having finished off the flanking forces leg it towards the new focal point of the battle.
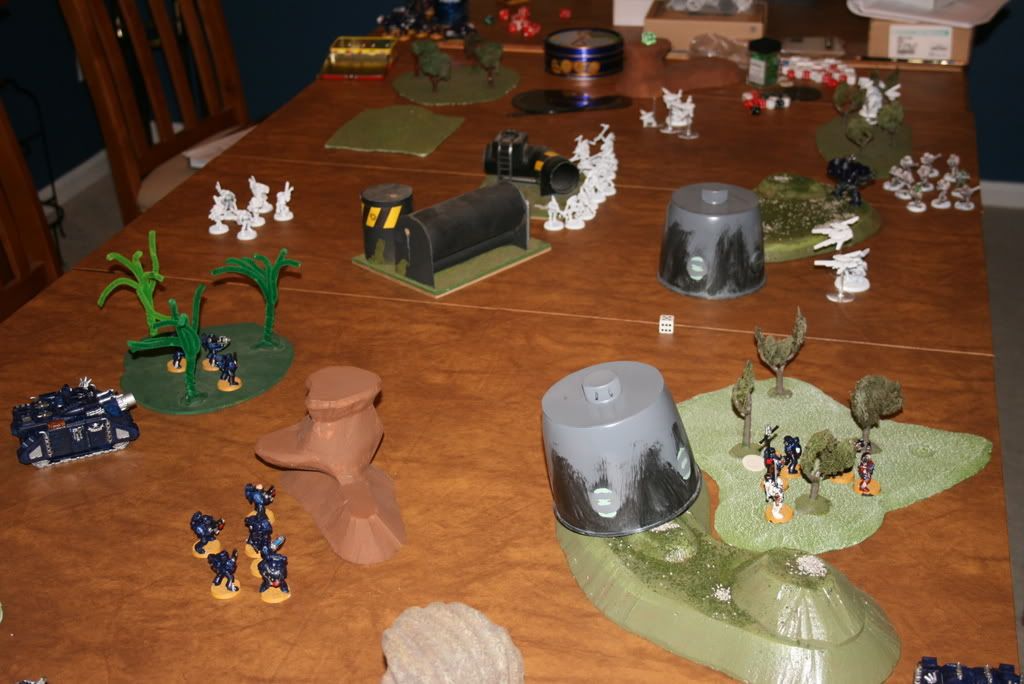
Dread manages to pulp Shadowsun who really can't do anything to it in CC, then moves on to skrag remaining Fire warrior squad that couldn't backpedal fast enough to get away.
Game ends at end of Turn 5. Solid victory for Marines, like 11 KP to 3.
Made a bunch of mistakes, and the series of bad rolls against the dread helped speed up the landslide.
I shouldn't have spread out as much as I did, treated set up more like an objective mission rather than a kill-em-all fest. Concentrating my firepower more would have enabled me to actually put hurt on the enemy before he closed, though the drop pods might have been even more effective.
Should have infiltrated the stealth teams rather than setting them up normally. With the marine concentrated deployment could have more easily harried their flank while they tried to close with the static fire base.
When the Kroot and Vespid arrived from reserve, should have concentrated them more and tried to put serious hurt on the command squad. Rapid fire them once, let them charge and wipe out one squad, rapidfire again with the other.
No comments:
Post a Comment